Paper Clock Craft For Daycare
This page may contain affiliate links. Learn More.
Grab your scissors, craft paper, and glue, and let’s make this easy paper clock craft for daycare. It’s a fun daycare activity that teaches kids several concepts such as time, fine motor skills, colors, and more.

In a world where digital screens dominate our lives, the hands-on craft of creating a paper clock for your daycare kids provides an invaluable opportunity for children to engage in a tactile learning experience. This not only encourages their imaginative skills but also offers a fun way for them to grasp the basic concept of time.
The art of crafting a paper clock allows children to connect with a traditional tool that has been a cornerstone of human civilization for centuries. A homemade paper clock is a charming and educational craft project that blends artistry, science, and practicality. It introduces children to the understanding of hours, minutes, and seconds, and how these increments of time interact in a day.
In this guide, we will take you step by step through the process of creating a paper clock. From gathering the right craft supplies, which you probably already have lying around, to finally hanging the finished piece on your wall.
By the end of this project, children will have not only a beautiful paper clock to show off, but also a deeper appreciation for the concept of time, and the satisfaction of having created something functional from their own hands.
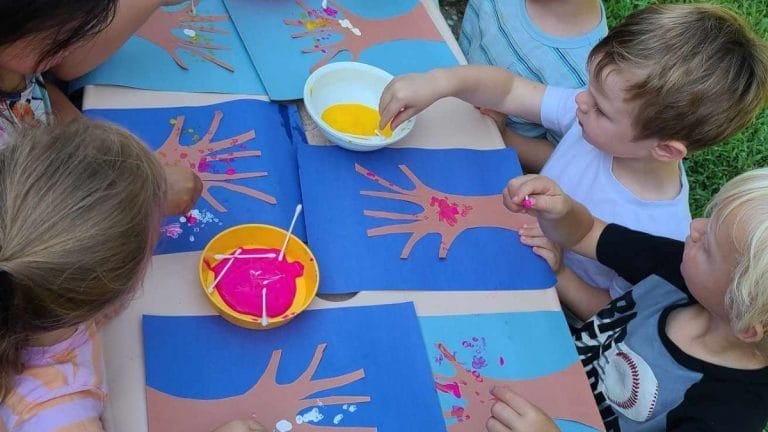
Daycare Crafts
While I love to let kids do creative art, and I do mostly that at Little sprouts, there are so many great crafts you can make with your daycare kids, check some of them out here:
- Pine Cone Crafts for Kids
- 15 Paper Plate Crafts for Kids
- Dr. Suess Thing 1 and Thing 2 Pencil Craft
- Cat in the Hat Hat Craft
- Craft Stick Building Set for Preschool
- Paper Caterpillar Craft for Preschool
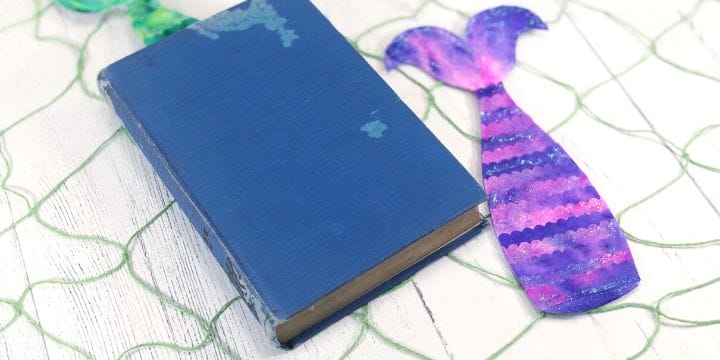
- Coffee Filter Mermaid Bookmark Craft
- Craft Stick Alien Flying Saucers
Now onto the paper clock. You need some construction paper, a brad, some card stock, the free printable clock face pattern included below, some scissors, and some glue and that’s about it. You probably already have everything on hand.
First, cut out the hands.

Cheap Cardstock Paper
Trace a circle onto the cardstock paper for the clock face base. You can get it at the dollar store if you don’t have some on hand.

Cut out the numbers and decorate them.
Then attach the numbers and hands to the clock face.
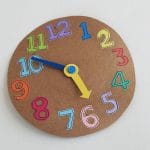
Paper Clock Craft for Daycare
Ingredients
- Colored craft papers
- Cardstock paper
- Pencil – to trace the template
- Craft glue
- Sharpie or gel pen
- Brad pins
Instructions
- Select different colored craft papers for the numbers and trace the numbers on the selected craft papers. Cut out the traced numbers nicely.
- Select a colored cardstock paper for the clock base. Trace and cut out a round shape for the clock base. Keep the base big enough to fit all the numbers and the hands.
- Use a pencil to mark the positions on the clock base for the numbers.
- Attach the numbers 3, 6, 9 and 12 on the clock first. The positions of these numbers can be helpful in adding the rest of the numbers.
- Attach the numbers between the attached numbers.
- Use a gel pen to trace outlines on each number.
- Select a brad pin to attach the clock hands.
- Make a hole on the center of the clock base.
- Place the long hand on the bottom and the short hand on top. Attach the hands with the base using the brad pin.