
DIY Shrinky Dinks from Upcycled Plastic Containers
This page may contain affiliate links. Learn More.
DIY shrinky dinks are so easy to make for free with supplies you already have around the house! For more special day ideas, check out these home daycare crafts and activities for special holidays can help make your celebrations fun!

Shrinky Dinks Plastic
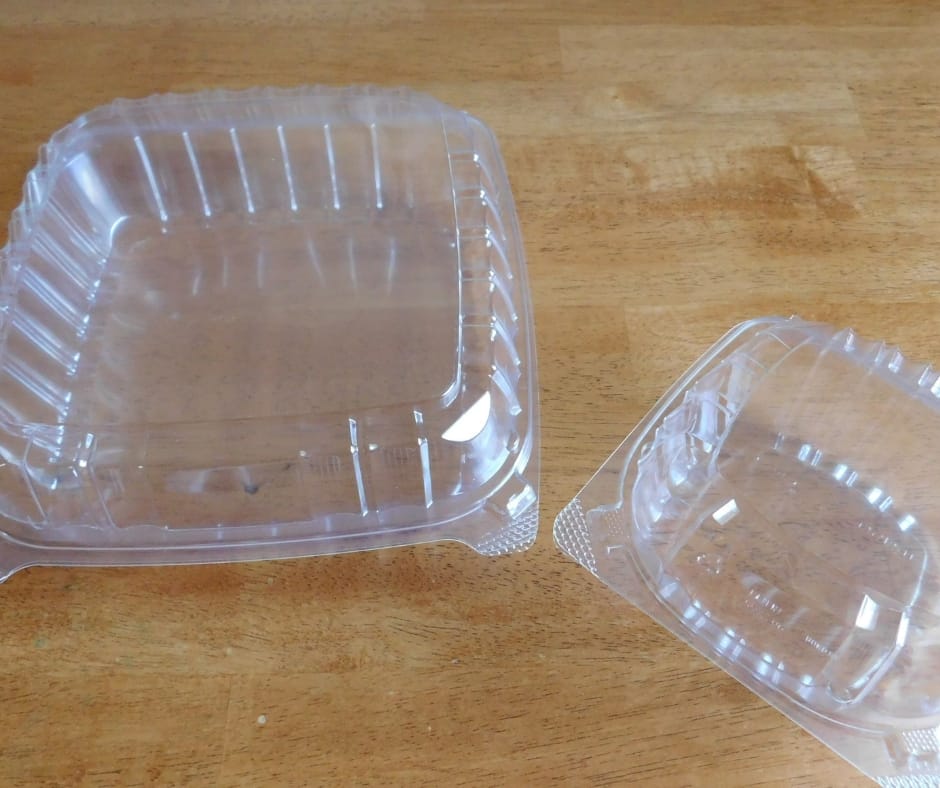
Shrinky dinks are made with plastic you draw on and then shrink in the oven. You can use plastic takeout containers to make homemade shrinky dinks that are just like the ones you buy at the craft store. It’s environmentally friendly to use something you already have around the house instead of throwing it into the landfill.
I always loved making Shrinky Dinks when I was a kid. I remember standing by the toaster oven with my sister watching the little plastic sheets curl up and melt. Such a fun craft to make. It seemed magical to me.
You can make your own shrinky dinks with a cookie sheet, plastic food containers or shrink plastic, a heat gun or an oven, some parchment paper, and acrylic paint, colored pencils, or permanent markers. You might need a hole punch, jump ring, or other accessory depending on what you want to make.
It’s so much fun to watch recycled plastics shrink to a fraction of the original size and show the bright colors of what you created. So let’s find out what type of plastic you need to make this super fun kids craft to get to the final shape we know and love!
These DIY shrinky dinks work just the same way. Let’s see what you need to get started.
What Kind of Plastic for Shrinky Dinks
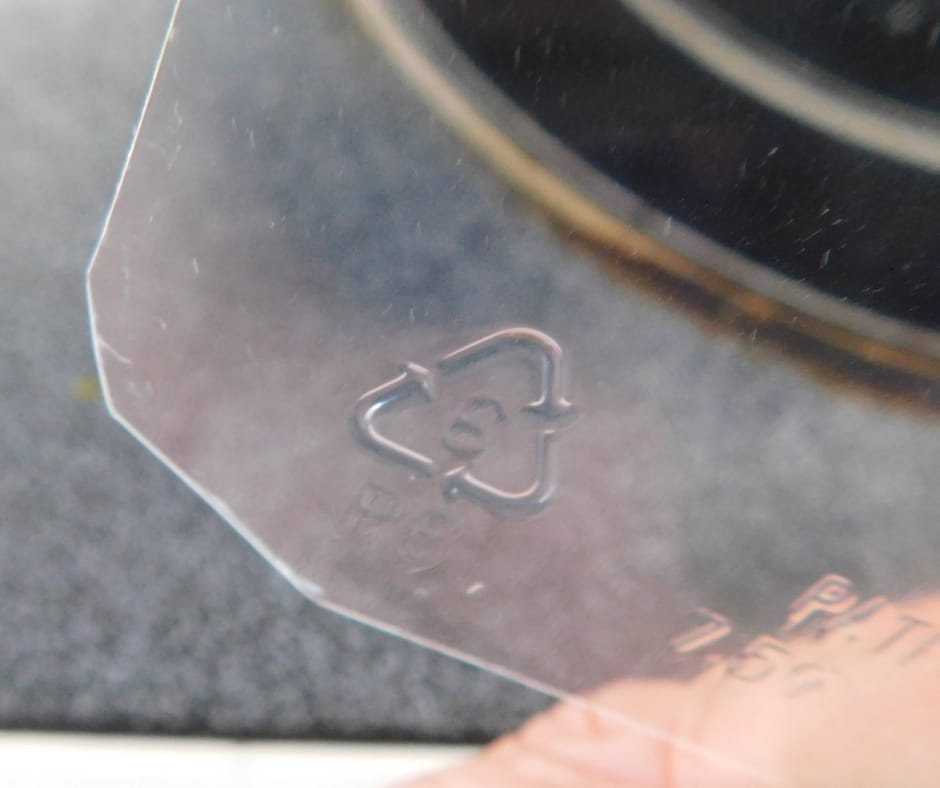
Clear plastic takeout containers are usually not recyclable. Here where I live, we can only recycle number one and two plastic. Check the little recycle triangle symbol on your plastic containers. You can use number 5 plastic for shrinky dinks or number 6 plastic.
I don’t get takeout often, but several people bring me their containers to use with the kids for crafts.
The next thing you need to decide is what kind of medium you will use to decorate them. Sharpies work great, but who wants to let their kids loose with sharpies? If that’s you, go for it! But for me, I need a less permanent option. If you choose markers, here are the best markers for Shrinky Dinks to help you get the best results.
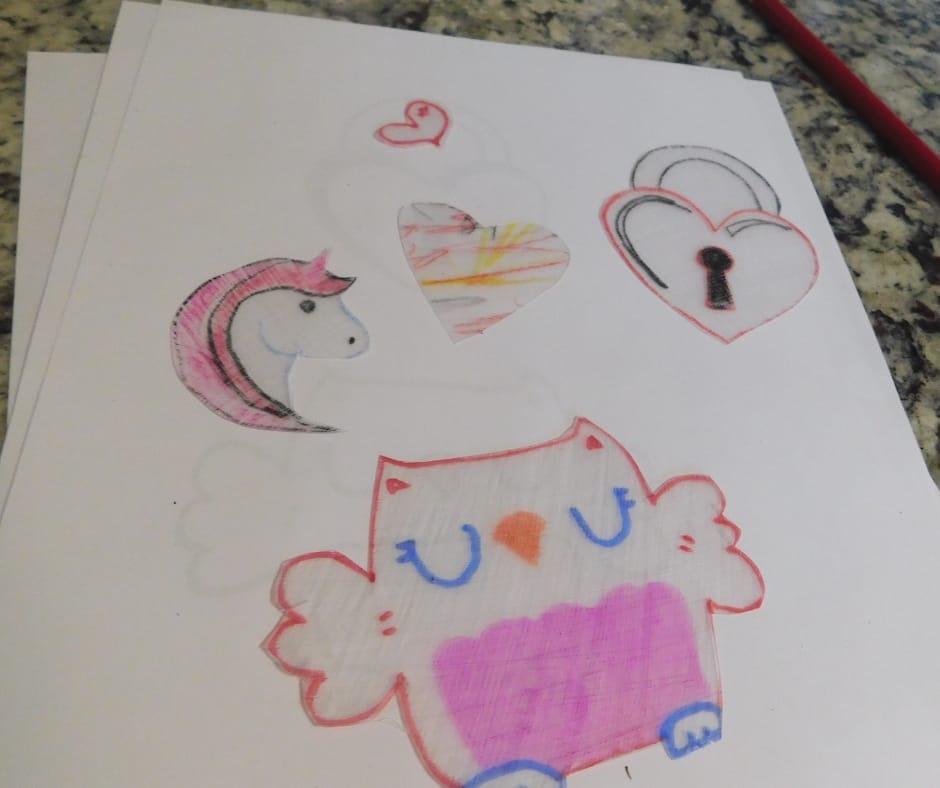
For our DIY shrinky dinks, we used three options to show you.
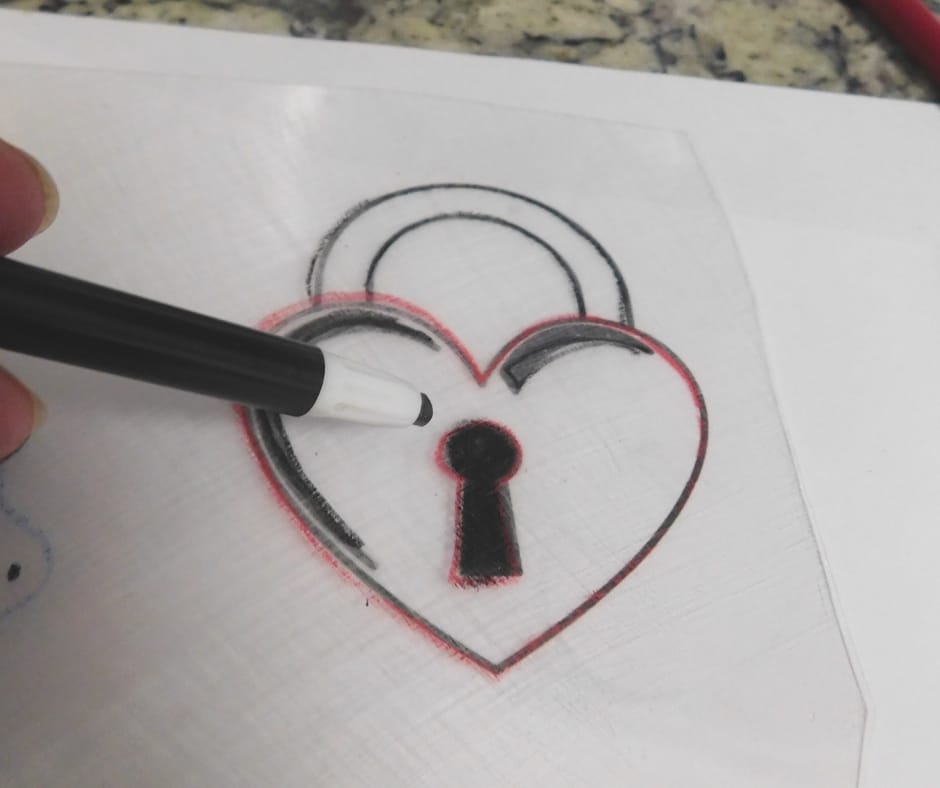
Example number one is sharpie.

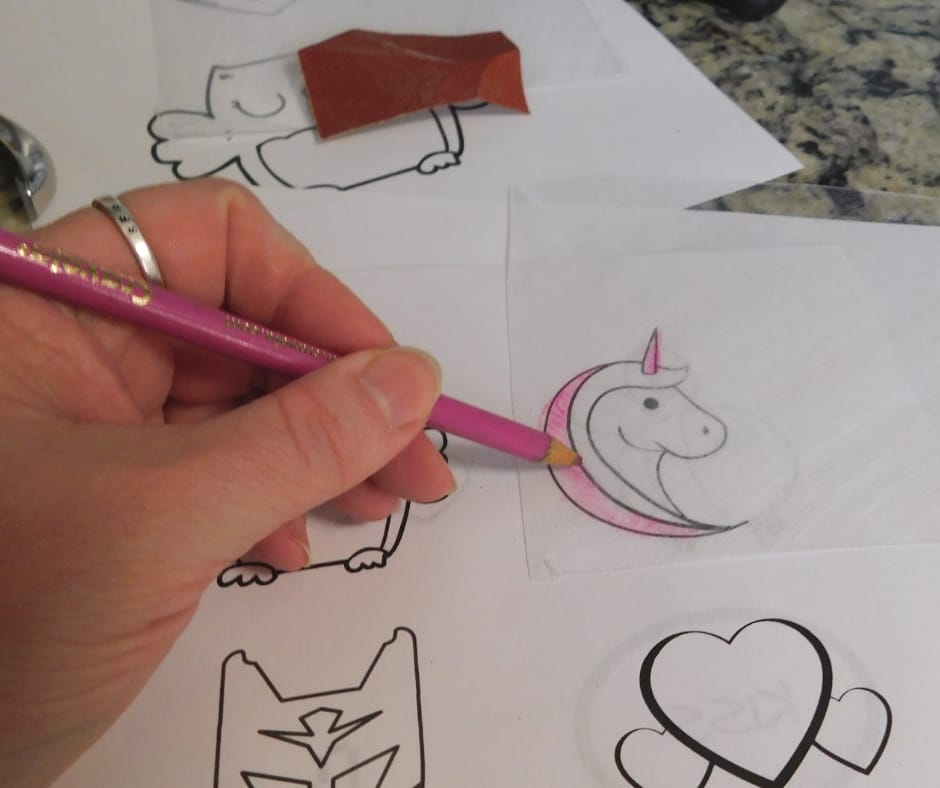
Then example number two is colored pencil.
Example number three is roll up crayons.
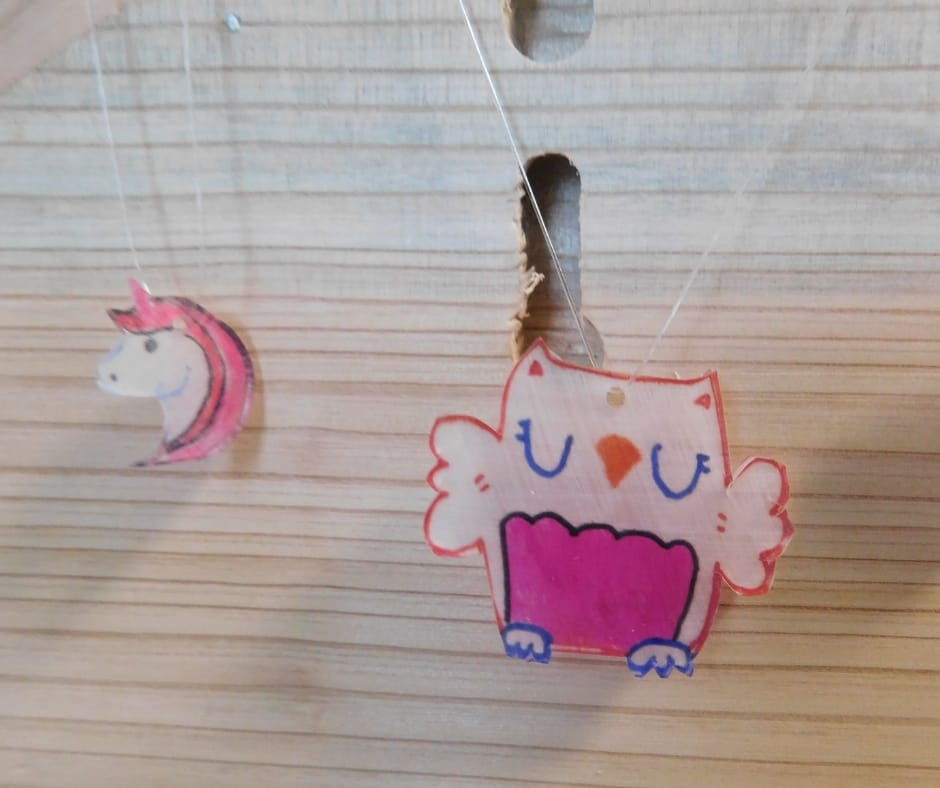
Once they shrink down, they all look great as you can see.

I stink at freehand cutting, but if you are creative with that or have some large punches, you can cut out your own shapes as I did here.
I love the idea of letting kids do open-ended art, but I find that parents like product art much better than process art, so I try to show the kids both. With open-ended art, kids can be free to be their own kind of creative. But there is good learning in project art, too, such as how to follow instructions. Shrinky dink crafts can be done either way.
I just let a child have a piece of plastic and a few roll-up crayons and go after it. Then I attempted to cut it into a heart shape. You could lay the sheet on a coloring book page or some of our free printable patterns and first draw a heart onto the sheet. Then when you cut it, it would turn out better than my freehand one.

Let the kids make any designs they wish and then cut them into shapes for them after. This makes a wonderful product but they still get to be creative. If your kids are older, let them cut them out themselves. That would really be unique and creative.
How to Make Homemade Shrinky Dinks
Once you have selected your shrinky dink plastic and medium, follow these shrinky dink instructions.
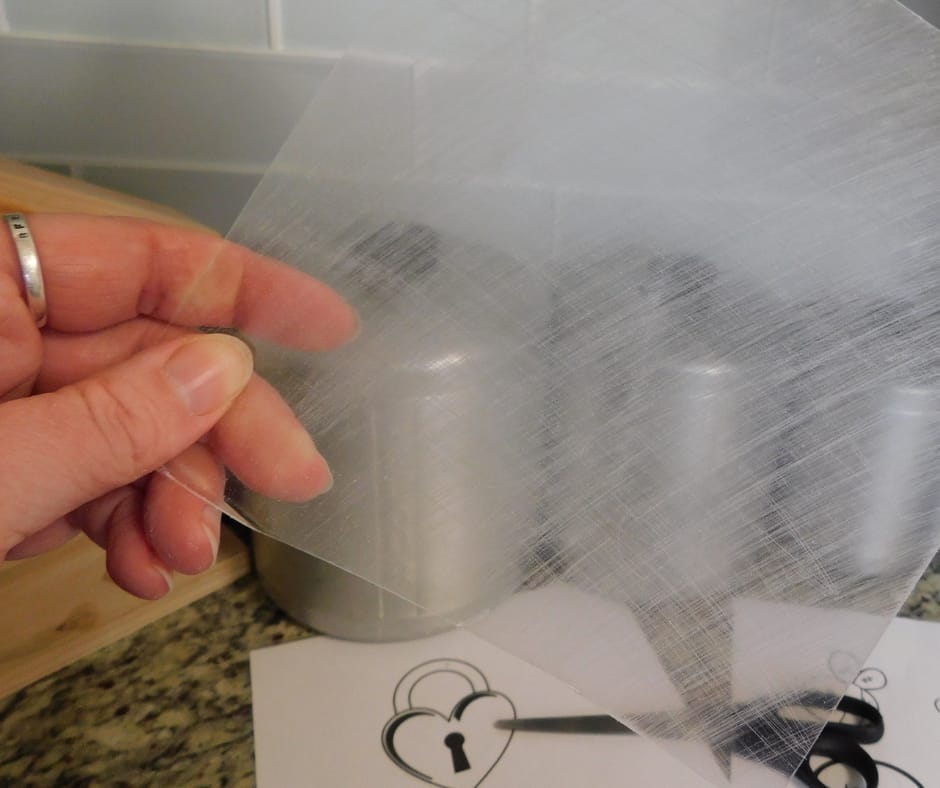
Step 1. Cut the flat parts of the plastic out of your container (or grab your sheet of store-bought plastic).
Step 2. Take fine sandpaper and lightly scratch the entire surface of the plastic so it’s rough and will hold the color of your medium.
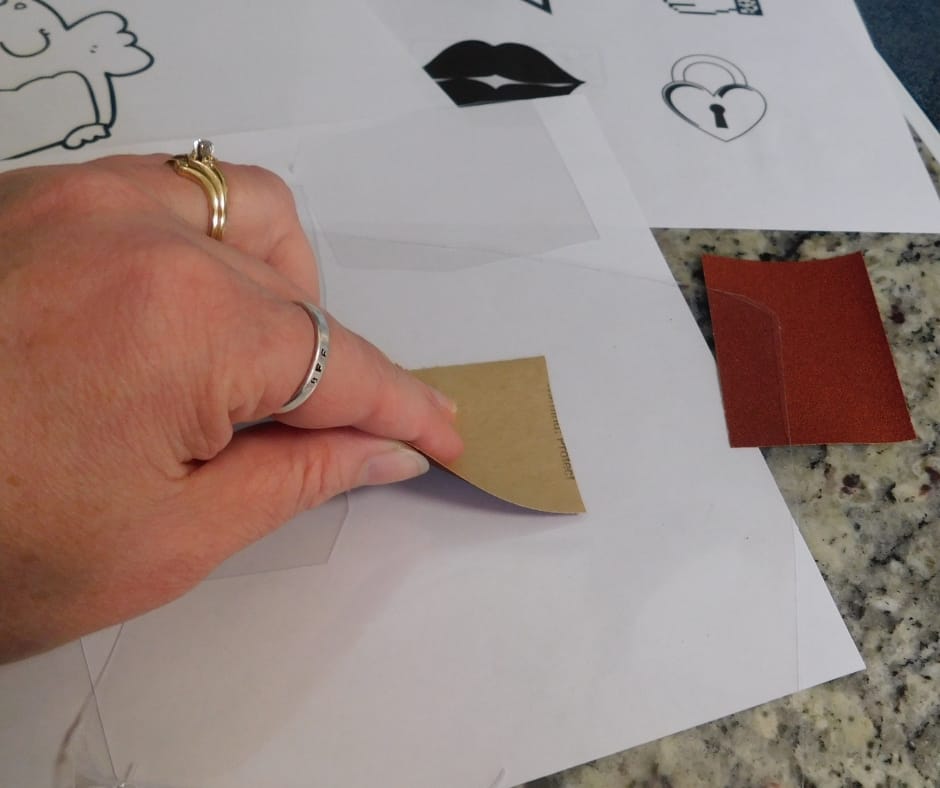
Step 3. Wipe the plastic lightly and choose your design.
Step 4. Decorate your plastic on the rough side.

Step 5. Cut out your design.
Step 6. Punch a hole in the top of the design.
Step 7. Bake at 350 for about 5 minutes or until your items are flat. You may want to line your baking tray with parchment or aluminum foil. You may also want to take a toaster oven outside to avoid fumes inside, or preheat the grill and shrink them in there. We didn’t smell any fumes when we made them but better safe than sorry!

Step 8. Let cool.
Step 9. Attach string, thread, ribbon, a keyring, or whatever you want to make your homemade shrinky dinks into necklaces, key chains, luggage tags, charms, bookmarks, even guitar picks, or whatever you had in mind.
For more information, check out the Ultimate Shrinky Dink Instructions here.
Printable Shrinky Dink Templates
Here are some free Valentine shrinky dinks printables templates! Just print them out and lay them under your plastic to trace onto your shrink art. You can use them with the kids or use them to make some really special Valentine’s day gifts for your kids.
There are two sizes of each design of shrinky dink patterns available. The small ones shrink down to about half an inch and the larger size shrink down to about an inch. If you want larger items, you can print the images out and blow them up on a copier, then trace them.
You could make larger ones and use them for Valentines for classmates. What a fun way to make a card! You can also make necklaces or other jewelry for a gift.
More Shrinky Dink Templates
Would you like to make some gorgeous garden shrinky dinks? Check out these free printable Garden shrinky dinks templates. Or for more outdoor themed patterns check out these 24 Free Printable Spring Shrinky Dink Patterns. Another great spring time set is these 24 Free Earth Day Shrinky Dink Patterns.
We’ve also got some fun shrinky dink Christmas ornament templates! These 24 Free Summer Shrinky Dink Patterns are great for summer fun when you have extra time, since school is out and you need some boredom busters!
Or make these fun 4th of July shrinky dinks! We have St. Patrick’s Day shrinky dink patterns too!
And don’t forget about making handprint keychains! They can make great gifts for mother’s day, father’s day, grandparent’s day, and more!
There are tons of Winter Shrinky Dink ideas in this post for kids to enjoy!
Free Back to School Shrinky Dink Patterns for making back to school more fun and colorful! If your kids are into sports, check out these fun 24 Free Sports Shrinky Dink Patterns.
And don’t forget about Halloween. You can make some super cute Halloween shrink art with these fun and free printable patterns.

Remember to make sure you punch a hole in your item BEFORE you shrink it if you want it to have a hole in the end. I used to forget that as a kid. I’m sure you could drill a hole, but punching before is far simpler.
I hope you and your kids have fun with all these DIY shrinky dink ideas!
For more ideas on making your own homemade art supplies and saving money, check this out. And don’t forget to check out these printable activities.
If you want more art ideas and how to throw the perfect art celebration for kids, check this out.


I thought you could use #5 as well as #6 too, but I can’t find anything on the iternet to confirm this-
Everything says you can shrink #6 Only!
Are we mistaken?!
I have used both and they have both worked, but I haven’t seen 5s in a while, I have mostly only been seeing 6, so maybe that’s why? I’m not sure, but you be safe, you can stick with #6 plastic. Thank you for asking!
Would a strawberry container work? It says it’s #1, but it’s pretty much the only one I have,
It has to be a number 5 or 6 to work. I don’t recommend any number 1 plastics. Thank you for checking it out though. Maybe you can get some shrinky dink plastic and next time you come across a number 5, save it for this.
i have old plastic folders that my daughter used for school. they are to pretty to throw i was wondering if i could use those to make shrinky-dinks
I’m not sure what kind of plastic they are, I would imagine they wouldn’t work for shrinky dinks, but maybe you could repurpose them another way such as cutting out shapes and punching a hole to make necklaces or keychains. Something that you don’t have to melt. It would be fun to try!
Hi,
First, let me say I love the cute ideas you share. I was researching other plastics you could use to make Shrinky Dinks as # 6 is harder to find. This is what I found out, PS 6 Plastic, is a type of Styrofoam that releases toxins into the air when heated. You might want to explore different types of recyclable plastic at a lower heat.
You can get 10 sheets of Acetate for $5.99 @ Walmart.
There are other websites as well.
Blessings!
Yes, that’s a good reason to use a toaster oven and do it outside. You can never be too careful with plastic. Thanks for your input and for checking out the article.
I would still be concerned about using the toaster for food afterward–as you said, can’t be too careful. There may be some residual toxins that wouldn’t simply dissipate & when heating the oven another time, I’d be worried it would be absorbed by the food being cooked.
I agree, but I would worry about that with store bought shrinky dinks as well for sure!
Several years ago I volunteered to teach arts and crafts to two classes of 5th Graders. It was fun. This is one of the projects we made. The kids loved it…so did I!!!
How fun! I love hearing that. Thank you for checking it out!
HI again,
I am trying to find a print out of a slice of orange and any other images of an orange. It is for a special event, and I have been working on the elements to make it…forever (or so it seems). If you can help me ASAP I will be so grateful.
I found this free color page website that has oranges on it. Do you think this would work? If it’s too big you can shrink it on a copier. http://www.supercoloring.com/coloring-pages/fruits/oranges
Christina, I did not see your kind reply to my plea for help! The page you suggested is perfect. Thank you so very much. I will keep it for future use!!!
Great!
I didn’t know that you could do this! I think I’d definitely opt to do it outside, but what a creative idea!
Isn’t it the funnest? Thanks for checking it out.