
How to Make Homemade Mozzarella Cheese
This page may contain affiliate links. Learn More.
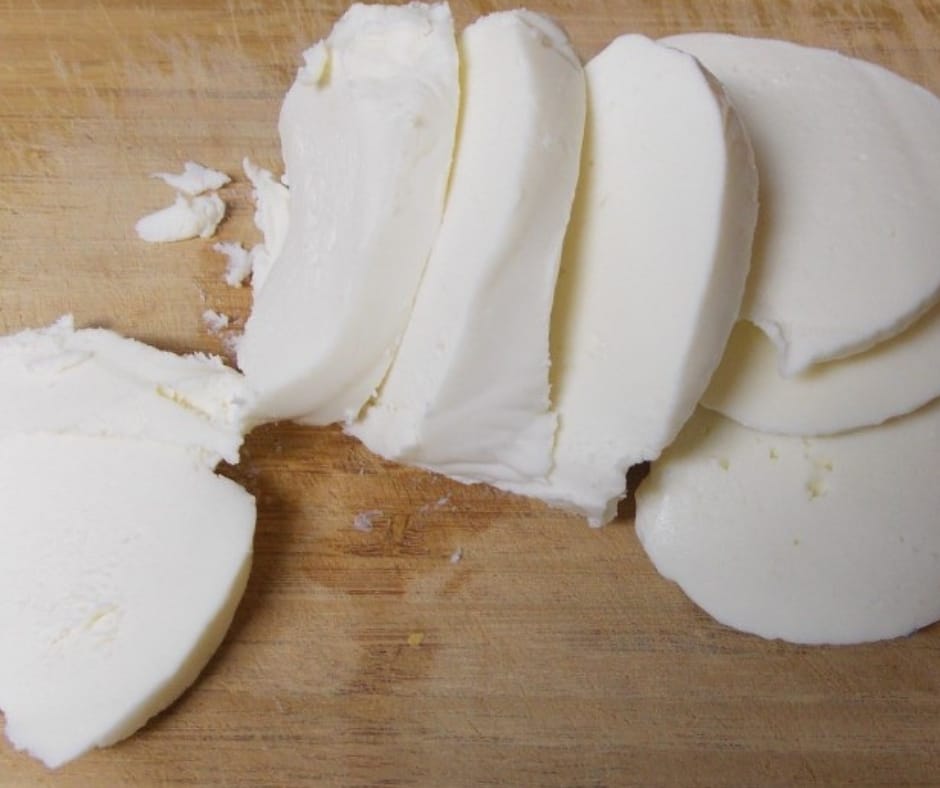
Making fresh homemade mozzarella cheese is by far the easiest cheese I have made. It’s unlike any cheese you’ve tasted from the store.

It also takes the least amount of special equipment. Just a few simple cheesemaking ingredients and a few minutes of time and you’ll be enjoying delicious fresh cheese!
How to make cheese
Learning to make your own cheese is fun and rewarding. All you need is milk, citric acid, liquid rennet, and cheese salt to make mozzarella cheese.
You will also need a big heavy stockpot to cook it in and a heatproof bowl to continue to heat it in as you knead it.
I learned how to make mozzarella cheese by reading Ricki Carroll’s book, “Cheese Making”. I wanted to learn to make my own cheese because of some of the hidden ingredients in store-bought food. Pre shredded cheese is especially bad for you.
The first thing you need to know about how to your own cheese and making mozzarella cheese is you need unopened, cold milk, straight from the store. Whole milk is best, but you can make it with lower fat milk, it just won’t have a nice consistency.
I buy my milk to make cheese at Braum’s because they don’t use hormones on their cows. I’m super concerned about the effects of the hormones that are passed on to kids and how it affects their development, so I avoid them as much as possible.
One batch of homemade mozzarella cheese, that may be around a pound, takes one gallon of milk.
Before you begin to make your own cheese, including mozzarella, make sure all of your spoons, pans, bowls and everything that will touch the food is sterilized.


Check out Ricki’s book for more information on how to make your own cheese and making mozzarella cheese.
It should be eaten in a few days or it starts to lose the fresh taste and consistency. Fresh mozzarella is best eaten right after you make it. For another fun cheese to make, try making homemade cream cheese.
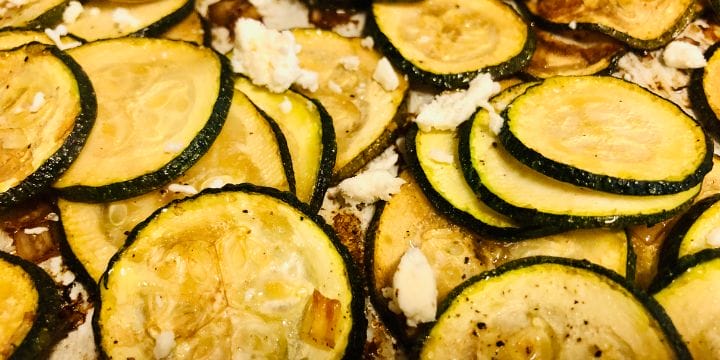
There are so many great dishes you can make with mozzarella cheese, and ALL of them are even better with fresh! Here are a few of our favorites:
- Air Fryer Mozzarella Sticks with Marinara Sauce
- Air Fryer Pizza Wontons
- Cucumber and Tomato Salad Recipe
- Pepperoni Pizza Pasta Bake
Can you freeze fresh mozzarella cheese?
It can be frozen if you totally have to, but it loses a lot of texture, so it would be best used in cooking when thawed. Wrap it tightly before freezing.
It’s so much fun to learn to make your own cheese! You’ll feel like a mad scientist or a mighty warrior that can do anything AND it’s so good!
Homemade Mozzarella

Homemade Mozzarella Cheese
Ingredients
- 1 ½ teaspoons of citric acid
- 1 gallon pasteurized whole milk
- ¼ tsp. liquid rennet
- 1 tsp. cheese salt
Instructions
- Grab a big ole pot that will hold the gallon and have room leftover, and pour the milk in.
- Get a small bowl and add ½ cup cool water and 1 ½ teaspoons of citric acid. Stir until dissolved.
- Get another small bowl and add ¼ cup cool water and ¼ teaspoon of rennet. Stir until dissolved.
- Heat the milk on low to 55 degrees.
- Add citric acid solution while stirring.
- Heat the milk to 90 degrees stirring constantly.
- Remove the pot from the heat and slowly stir in the diluted rennet with an up and down motion for 30 seconds.
- Cover the pot and leave undisturbed for 5 minutes.
- Check the curd. It should look like custard, but you should be able to see the thinner whey liquid. It’s almost clear. If the whey liquid is still milky, let it set longer.
- Cut the curd into squares with a knife.
- Place the pot back on the stove and heat it to 105 degrees gently moving the curds with your spoon.
- Remove from heat and continue to stir slowly for 5 minutes.
- Scoop out the curds with a slotted spoon and put into a 2-quart microwavable bowl.
- Press the curds gently with your hands, pouring off the whey.
- Save the whey to use in soups, or other dishes for added nutritional value. We soak our grains in whey to break down the phylates.
- Microwave the curds for 1 minute.
- Drain the whey again.
- Gently fold the cheese over and over like you are kneading bread with your hand or a spoon to distribute the heat.
- Microwave two more times for 35 seconds each, draining and kneading after each heating.
- Add salt.
- Knead quickly until smooth and elastic. When the cheese stretches like taffy, it’s done.
- If it doesn’t stretch, it’s too cool and needs to be heated more.
- Roll it into small balls and eat warm or place them in ice water for 30 minutes.
- Cover and store in refrigerator.
- Curds are best eaten warm.


Is the temperature Celsius or Fahrenheit? I’m so excited to try this mozzarella.
Fahrenheit. Thanks for checking it out. You are going to love it!
Hi. I’d like to try canning it with spice and Olive oil. Do you think it will work and keep longer?
I can’t see why it wouldn’t. That sounds amazing. I know I’ve seen it canned in oil for purchase, but am unsure of how to do it safely because I know olive oil can have some safety concerns and I’m not a canning expert at all.
Can I use Citric acid for home canning? Making for the fist time and I have this already.
Thanks
It’s possible, I’m not sure about what is used for canning. But it would be a good idea to try. 🙂 Thanks for checking this out.
Wonderful, thank you for making this an easy process.
Thank you for checking it out!
It worked like a charm! Thank you what a fun experience!
YAY! It’s so fun to make it! Thanks for checking it out.
Thanks for this recipe! I just did it! I forgot to add my salt, though, but it turned out well! I haven’t tasted it yet, but I can’t wait! I had to let the rennet do it’s thing for about 20 minutes before it was time to cut the curds, but no problems after that! Now I’m going see what to do with the remaining whey. I’ve read that ricotta is made from it 🙂 Thanks again!
Yes, you can make ricotta, you can also use it in smoothies, soups and sauces. So glad you tried it, it’s so much fun to make. Thanks for stopping by and reading.
Thanks for sharing.. I think my girl scouts will need to give this a try!
That would be so great! Thanks for checking it out!
This is great! Sharing!!
Thank you!
You had me at “cheese”!!!!
It’s so funny how gross cheese looks while it’s being made, but it is so yummy!
Cheese is soooo goood. 🙂 Thanks for checking out the article.
Oh my! I need to make this. It really looks perfect.
Were you able to get the citric acid and rennet easily, and how expensive are they?
There are links to them in the article, they are not too expensive, you get a lot and can make tons of cheese with it. 🙂 Thanks for asking!
That looks like so much fun! You have such beautiful looking cheese.
Thank you, it was so fun and sooo delish!