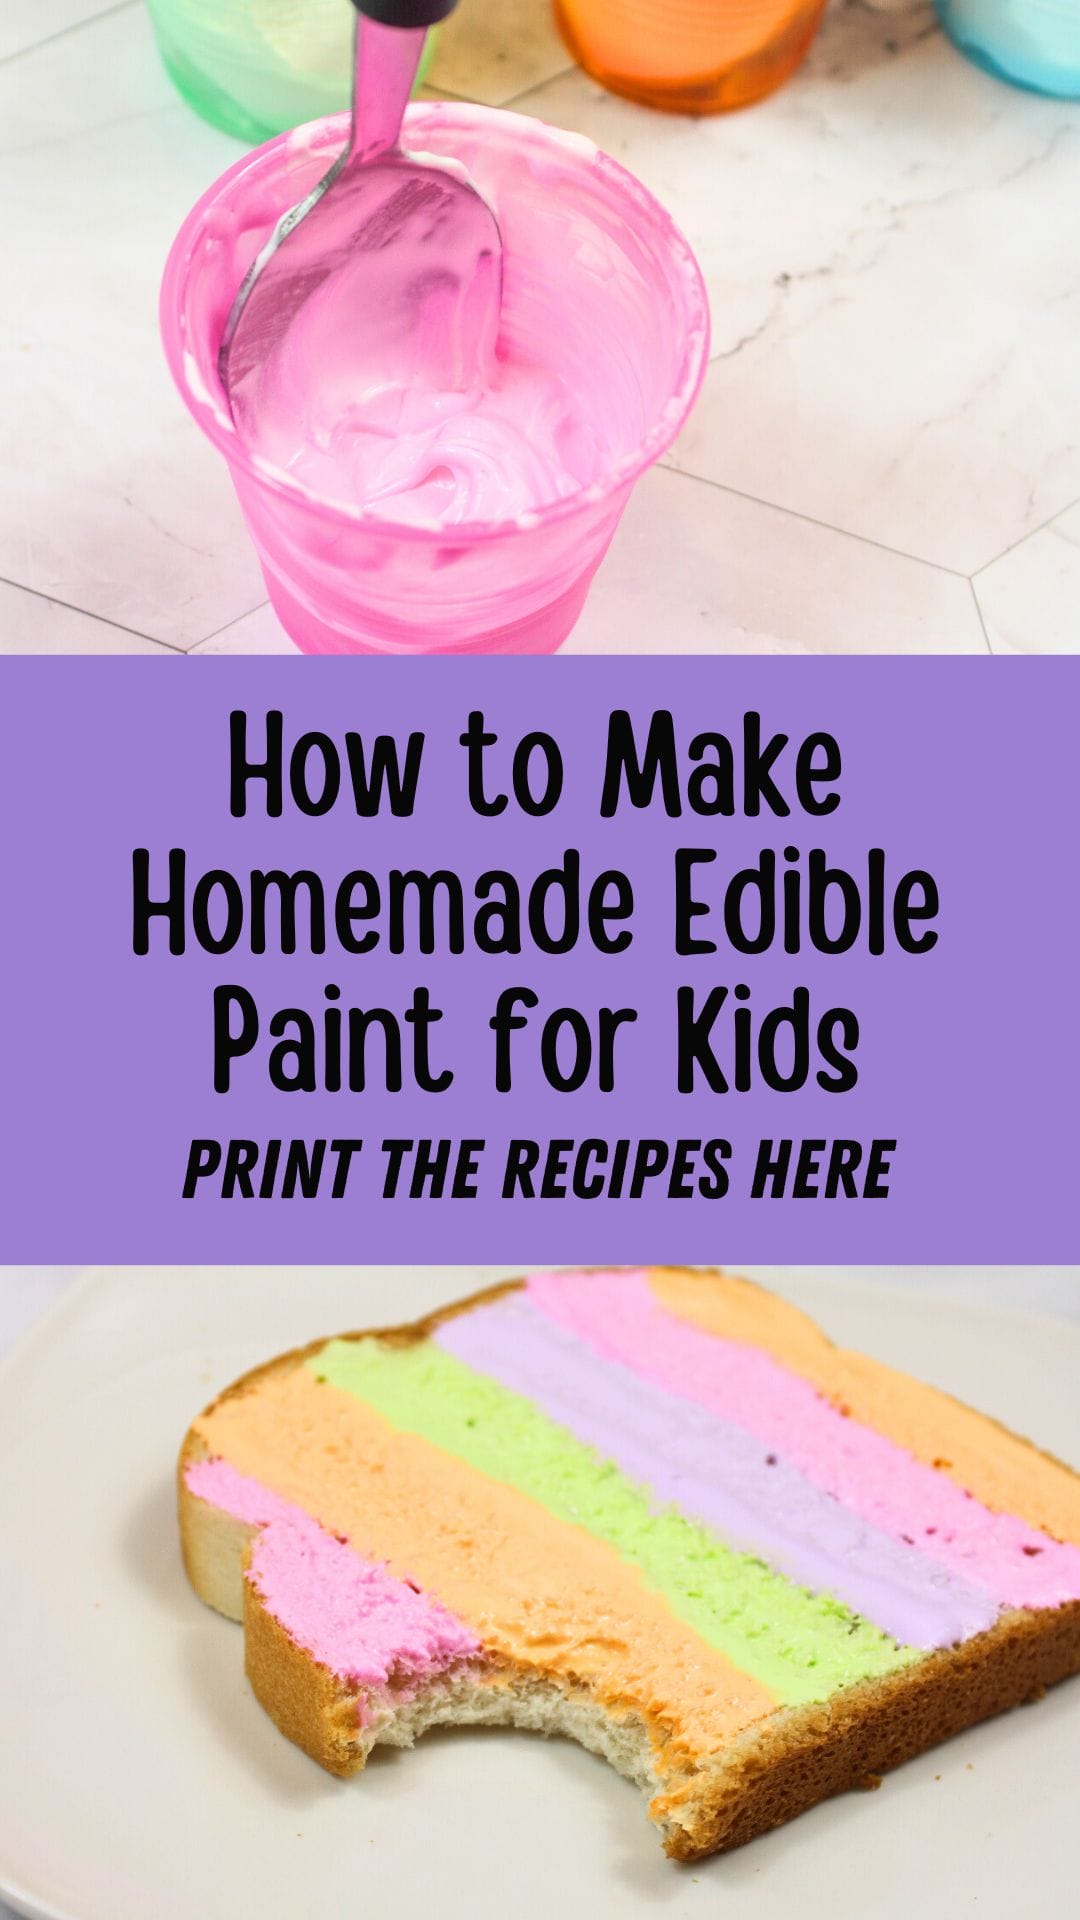
How to Make Homemade Edible Paint for Kids
This page may contain affiliate links. Learn More.
Homemade edible paint is such a fantastic option for daycare providers who want to encourage creativity without worrying about what ends up in little mouths. Check out these taste-safe paint ideas for kids.
Whether you’re painting with toddlers who still put everything in their mouths or just looking for a fun, safe alternative to store-bought art supplies, edible paint is a colorful and creative solution. There are so many great homemade art supplies you can make, but this one takes the “cake”!
Why Use Edible Paint?
There are plenty of reasons to use homemade edible paint with children:
- Safety First: Even “non-toxic” art supplies aren’t meant to be eaten. Edible paint gives you peace of mind when your little artist decides to take a taste. Plus you know exactly what’s in it and you can avoid using ingredients that someone in your group may be allergic to.
- Budget-Friendly: You can make edible paint using ingredients you probably already have in your kitchen.
- Sensory Exploration: Many edible paints offer texture, smell, and taste experiences, making them perfect for sensory play.
- All-Natural Option: You can choose to use natural food coloring or even vegetable-based dyes for a completely natural alternative.
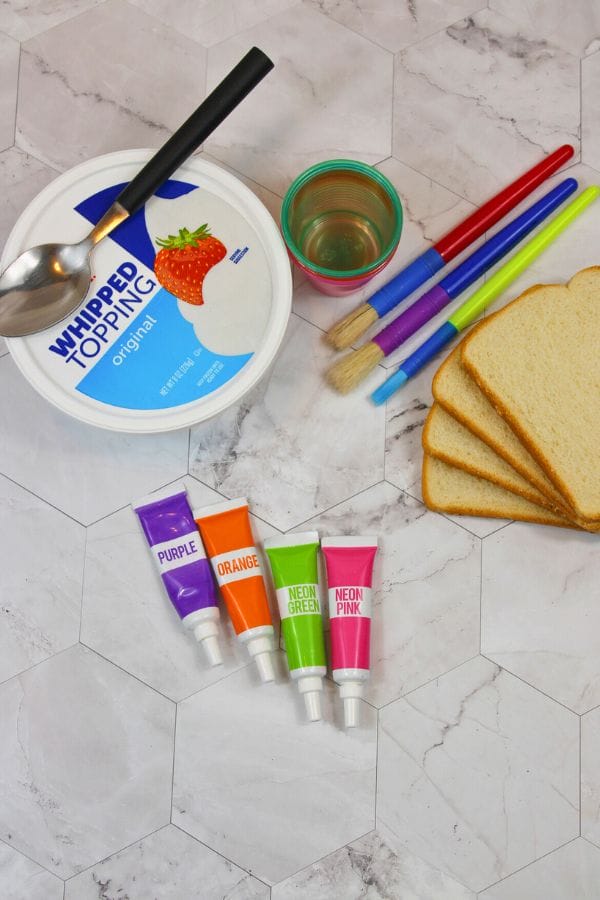

What You’ll Need to Make Edible Paint

Edible Paint Recipe
Ingredients
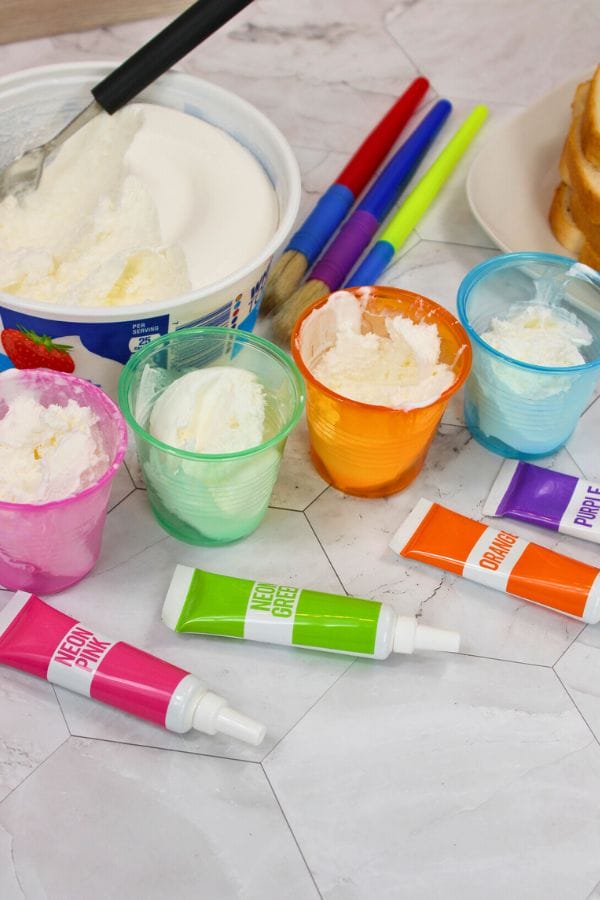
- Cool Whip
- New paint brushes clean and dried
- 4 small cups
- Spoon
- Food coloring pink, green, orange, and purple
- Bread
- Plate or napkin
Instructions
- Gather all the supplies needed to make edible paint.
- Add 1-2 tablespoons of Cool Whip to each small cup.
- Add food coloring to each cup and stir to incorporate.
- Place bread on a plate or napkin.
- Use paintbrushes to apply the edible paint.
- Any food coloring colors can be used
- Feel free to use fingers instead of paintbrushes, or both
- Add sprinkles for extra sparkle
More Edible Paint Ideas for Toddlers
Before you start, here are a few common ingredients used in edible paint recipes:
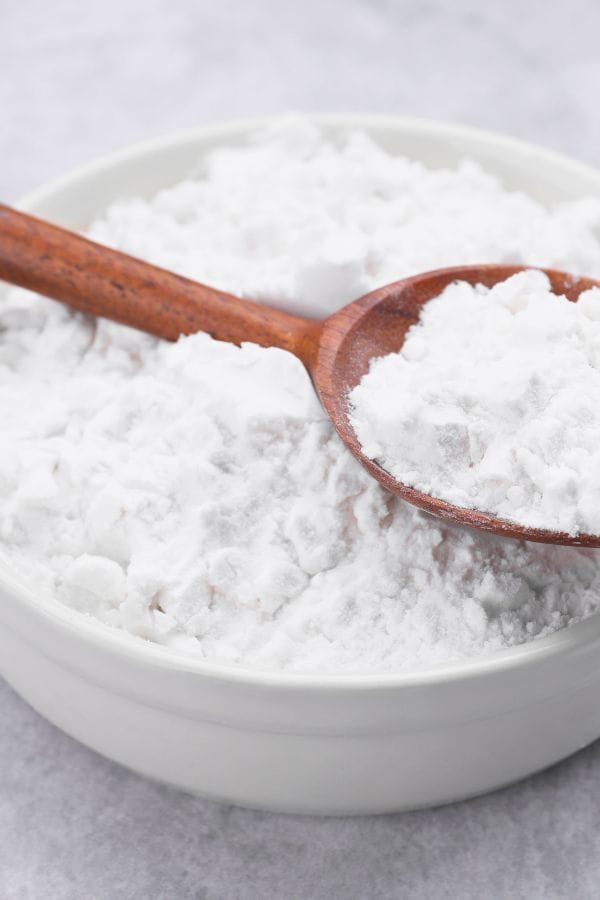
- Flour or Cornstarch: These give the paint a thicker, brushable texture.
- Water or Milk: Used to thin the paint to the desired consistency.
- Food Coloring or Natural Dyes: These provide the color. Natural options include beet juice, spinach powder, or turmeric.
- Containers: Muffin tins or small bowls are great for organizing different colors.
Making edible works of art in vibrant colors is so much fun. Most paints can be stored for at least 5 days in an airtight container at room temperature and will return to their smooth consistency with a little bit of stirring. Making homemade paint can be an activity in itself for younger children and older alike.
Trying new things is a fun idea for kids of all ages. So grab an edible paint recipe and have fun! Let’s break down a few simple and effective edible paint recipes you can try!

Basic Flour-Based Edible Paint
This is one of the easiest and most common recipes.
Ingredients:
- 1 cup flour
- 1 cup cold water
- Food coloring
Instructions:
- Mix the flour and water together until smooth. You want a pancake batter-like consistency.
- Divide the mixture into small containers.
- Add a few drops of food coloring to each container and mix thoroughly.
- Let your child paint with brushes, fingers, or even sponges!

Yogurt Edible Paint (Perfect for Toddlers)
This one’s great for babies and toddlers because it’s safe, smooth, and already delicious.
Ingredients:
- Plain yogurt
- Natural or regular food coloring
Instructions:
- Spoon yogurt into small containers or a muffin tin.
- Add food coloring to each container and stir.
- That’s it—ready to use immediately!
Bonus: Use Greek yogurt for a thicker texture and richer colors.
Cornstarch Paint (Bright and Glossy)
Cornstarch makes paint that’s a little more glossy and spreadable.
Ingredients:
- 1/2 cup cornstarch
- 2 cups water
- Food coloring
Instructions:
- Mix cornstarch and water in a saucepan over medium heat.
- Stir constantly until the mixture thickens (like pudding).
- Remove from heat and let it cool.
- Divide into containers and stir in food coloring.
Pro Tip: Store any leftovers in the fridge for up to 5 days. Just stir before reusing.
Sweetened Condensed Milk Paint (Super Shiny)
This version makes beautiful, shiny paintings that look almost like stained glass when dry.
Ingredients:
- Sweetened condensed milk
- Food coloring
Instructions:
- Pour the milk into small containers.
- Mix in a few drops of coloring until you achieve the desired shade.
- Paint away!
Note: This paint is sticky.
Natural Dye Edible Paint (Dye-Free Option)
Want to skip the artificial colors? Make your own natural dyes!
Ideas for natural color sources:
- Red/Pink: Beet juice or strawberry puree
- Yellow: Turmeric powder or carrot juice
- Green: Spinach juice or spirulina
- Blue/Purple: Blueberries or red cabbage boiled with baking soda
- Brown: Cocoa powder
Mix these into any of the base recipes above for a dye-free edible paint!
More Ideas with Natural Dyes
For more ideas with natural dyes, check these out:
- Learn How to Make Natural Dyes for Fabric from Plants and make your own tye dye projects with what’s growing around you.
- Try these Naturally Dyed Easter Eggs for tons of fun and gorgeous colors this Easter.
Painting Ideas for Kids
- Use Paintbrush Alternatives: Try Q-tips, sponges, feathers, or even their fingers.
- Cover the Area: Use a plastic tablecloth or newspaper to protect your table and make cleanup easier.
- Wear Play Clothes: Some food-based paints can still stain fabric.
- Let Art Dry Flat: Some thicker paints take time to dry. Leave artwork flat overnight.
- Involve Kids in Making the Paint: Mixing ingredients is a great fine motor and sensory activity!
- Yarn Painting for Kids is fun and you can use what you have on hand.
- Learn How to Paint with Marbles with Kids for a fun activity!
- Shaving Cream Paint Process Art for Kids is easy with some shaving cream you probably already have in the house. And the texture is fun.
Is Edible Paint Really “Edible”?
While all the ingredients are technically safe to eat, most of these paints aren’t meant to be consumed in large quantities. Think of them as “taste-safe”—fine for accidental licks but not a snack substitute. Always supervise young kids during painting, especially those under age 2.
Make It a Learning Experience
Making and using edible paint isn’t just fun—it’s educational! Here’s how you can turn it into a learning opportunity:
- Color Mixing: Teach primary and secondary colors as kids mix paints.
- Textures and Consistencies: Let them feel the differences between paint types.
- Fine Motor Skills: Using brushes or fingers helps strengthen little hands.
- Sensory Play: Engage all five senses with edible paints.
- Creativity and Expression: Give kids the freedom to explore and create.
Homemade edible paint is a fun, safe, and budget-friendly way to let kids get messy and creative without worry. Whether you’re working with a group of daycare kids or just want a fun afternoon craft with your toddler, these easy paint recipes make it simple to whip up a rainbow of color using what you have on hand.
Have you tried edible paint with your kids? Share your favorite recipe or fun art project in the comments below!