
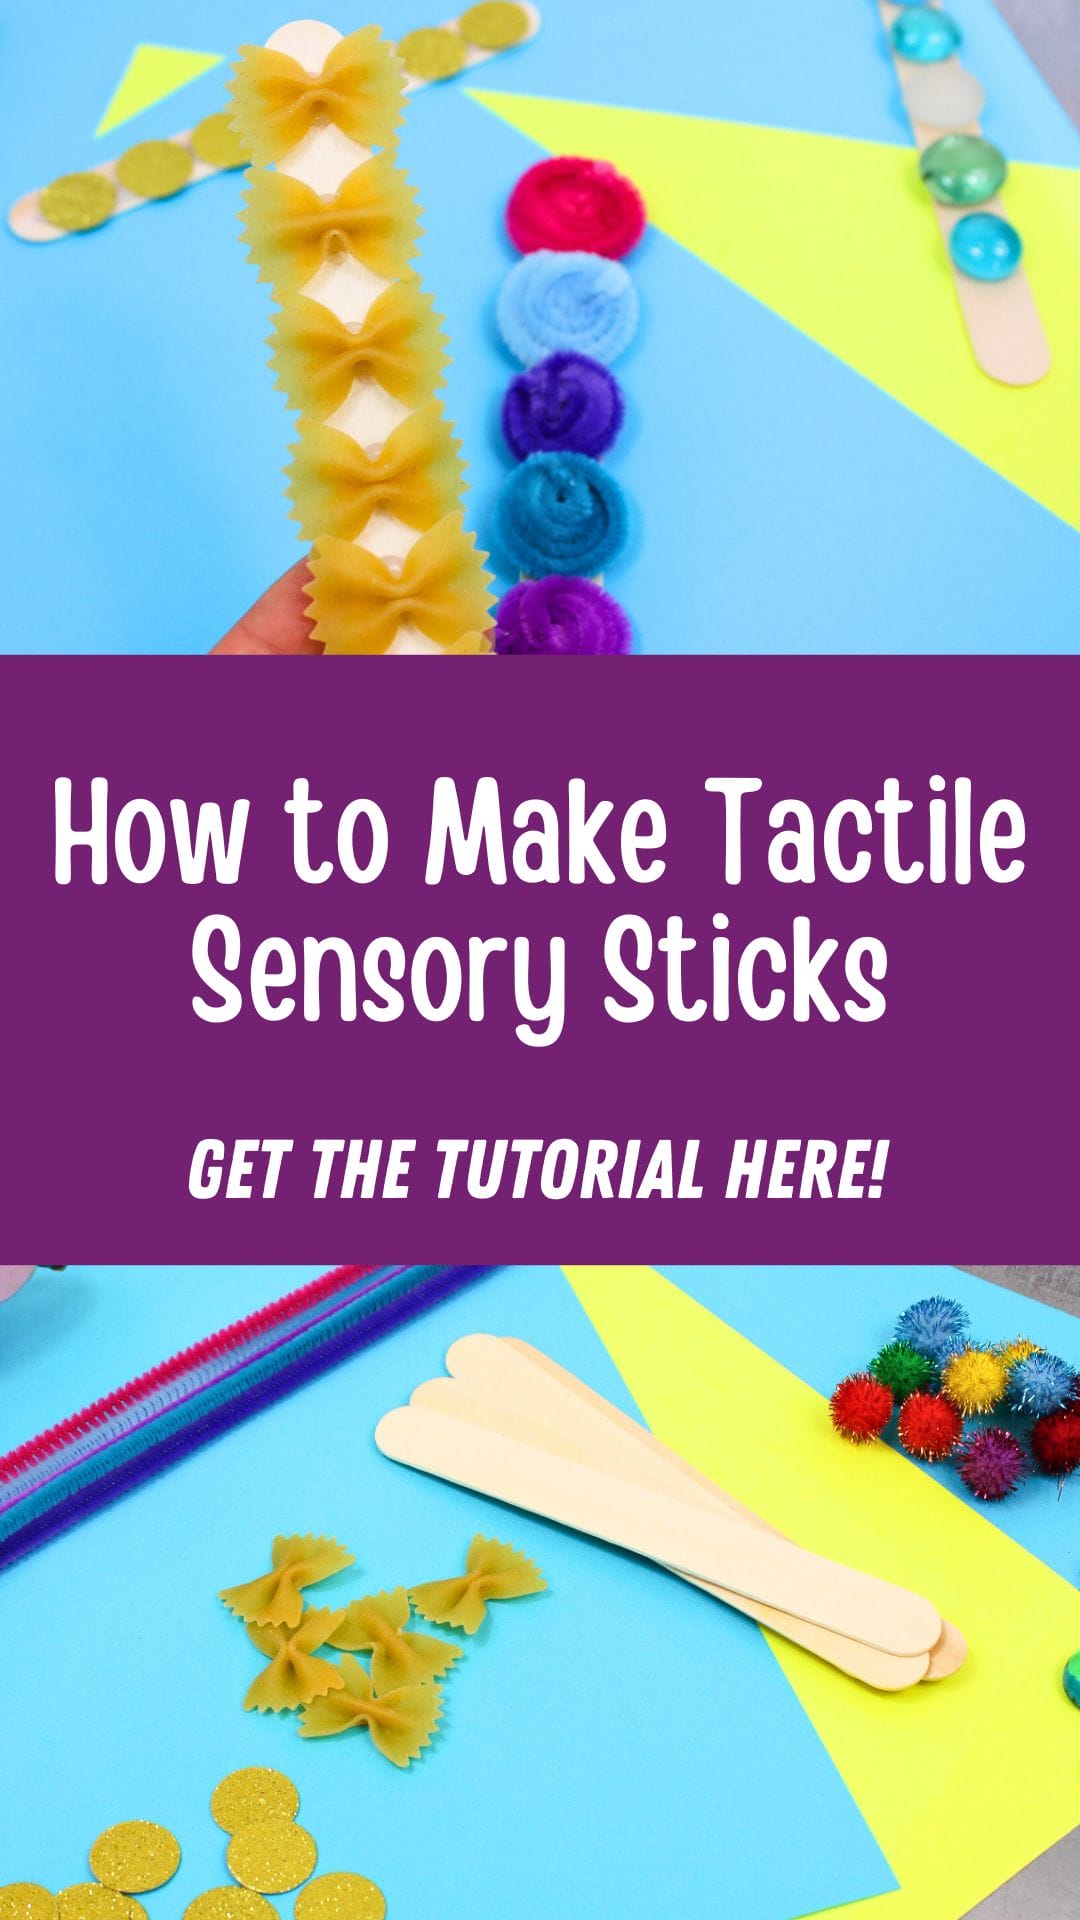
How to Make Tactile Sensory Sticks
This page may contain affiliate links. Learn More.
Here’s how to make tactile sensory sticks using inexpensive materials and a little creativity. Tactile sensory sticks are a fun and engaging way to support sensory development in young children. These simple, hands-on tools encourage children to explore different textures, which can help with sensory processing, fine motor development, language growth, and cognitive skills.
What Are Tactile Sensory Sticks?
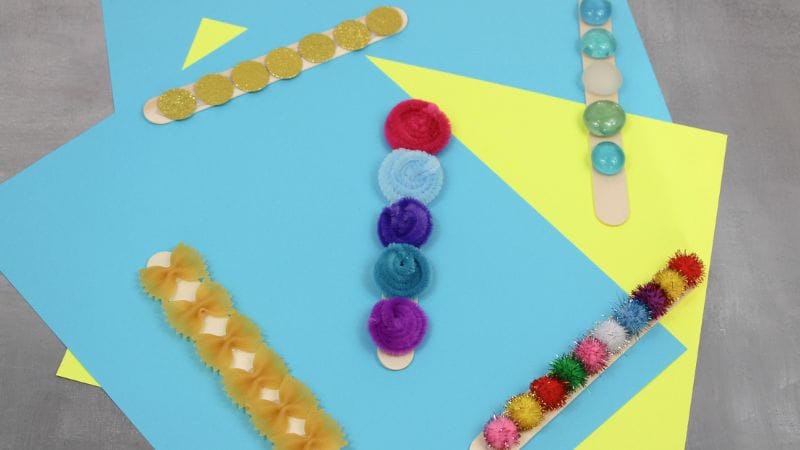
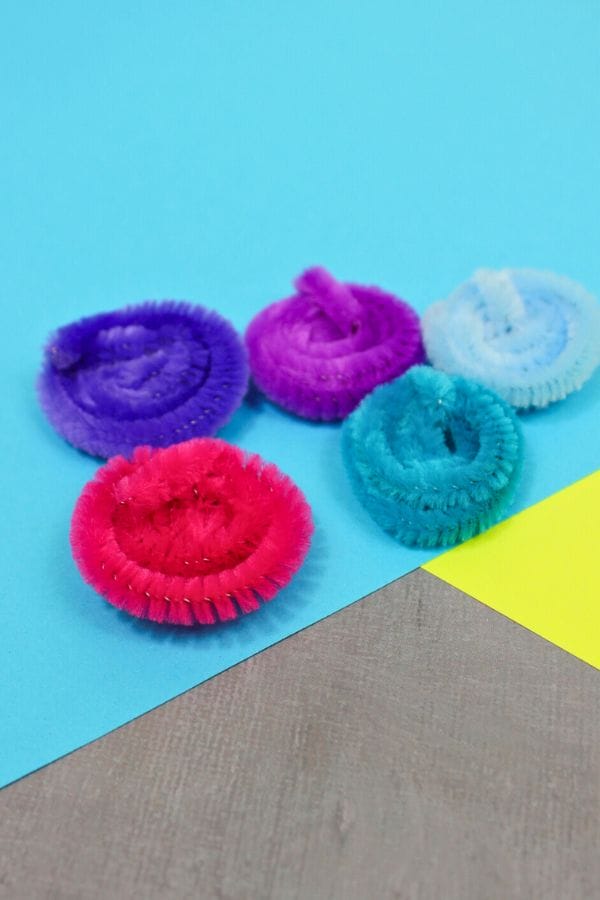
Tactile sensory sticks are large craft sticks covered with various textured materials. Each stick has a unique feel, making them ideal for sensory play. Children use their hands to explore each stick, discovering how the textures are different. Some are smooth, some bumpy, some soft, and others rough. These sticks can be used as a calming tool, for sensory exploration, or even in early learning activities like sorting and matching.
Why Sensory Play Is Important
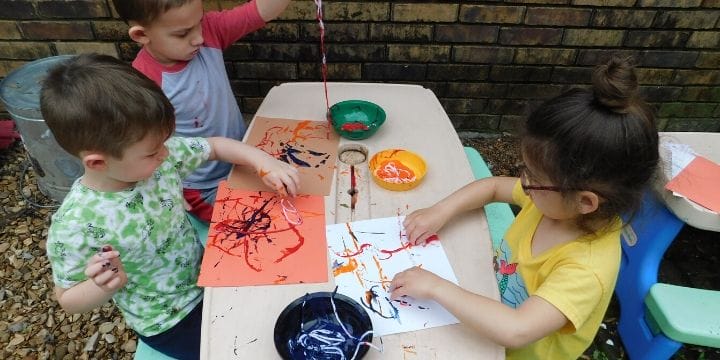
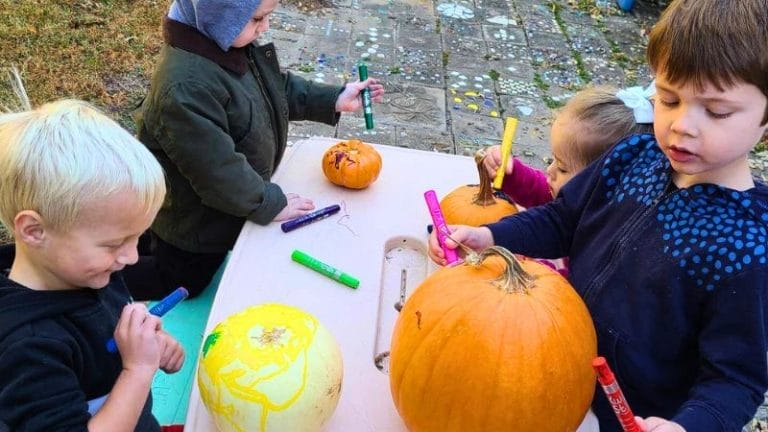
Sensory play, or play that involves the senses, is vital for young children. It helps them make sense of the world through physical sensations. Tactile sensory activities help build neural connections in the brain, improve focus and attention, and support emotional regulation. When children are exposed to a variety of textures in a safe and supportive way, they become more comfortable with new sensory experiences in everyday life. This kind of play is especially helpful for children with sensory processing differences or those who need extra sensory input.
Sensory play also helps kids build eye-hand coordination and fine motor skills needed for life.
You can use whatever you have on hand or purchase a few new items to make the experience even more exciting.
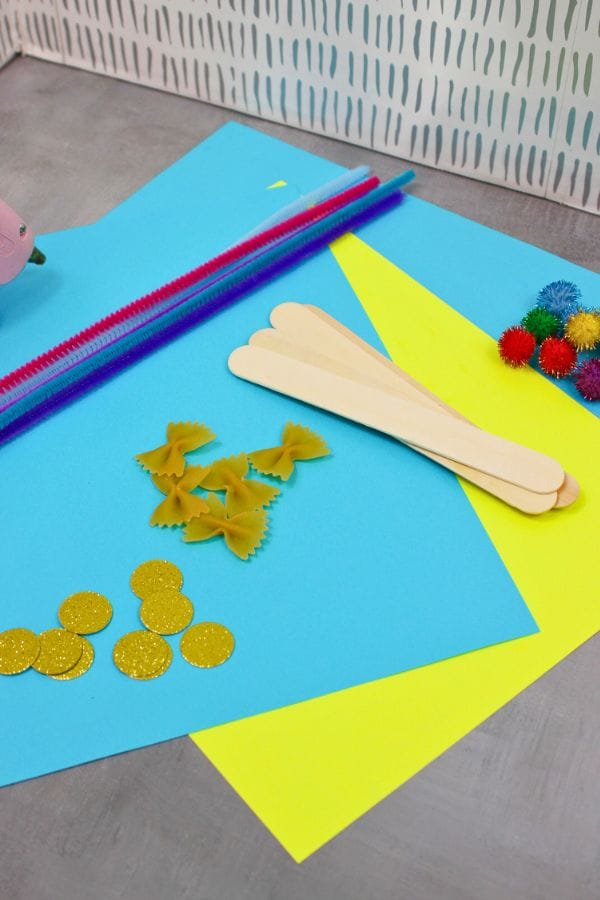
- Choose Your Materials
Start by choosing the textures you want to include on your sticks. Try to pick a variety of materials that offer different tactile experiences—soft, rough, bumpy, smooth, and squishy. Lay out the materials so you and your child can see and feel the differences. - Plan Your Stick Designs
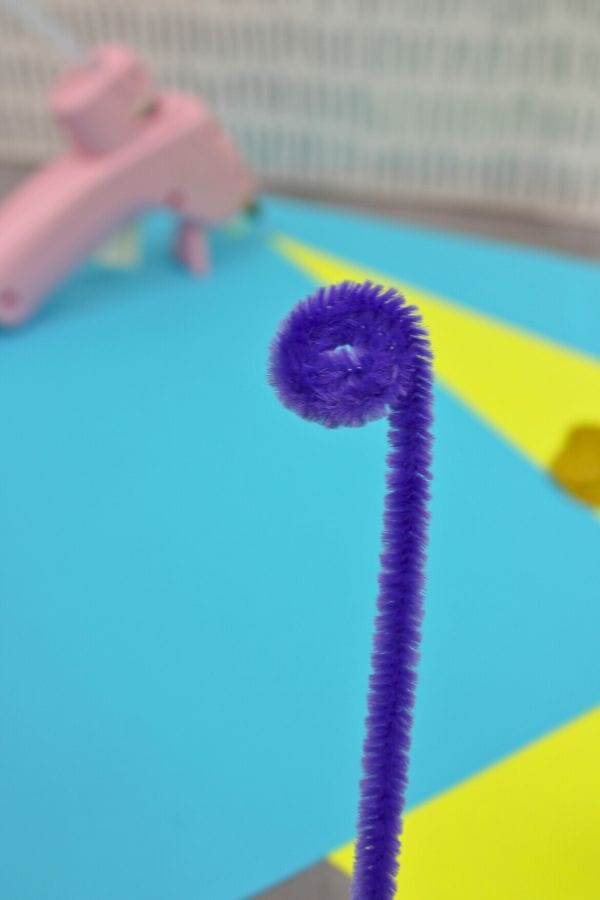
Decide how you want to arrange the materials. You can cover an entire stick with one texture or divide it into sections. You might create a theme for each stick—like a “soft stick” with pom poms and felt or a “rough stick” with pasta and rice. - Glue the Materials in Place
Using a hot glue gun (adults only), carefully apply glue to a small section of a craft stick. Then press the material onto the glue and hold it in place until it cools and sticks firmly. Continue this process until the stick is fully covered. Let each stick cool completely before allowing children to handle them. - Let Your Child Explore
Once the glue has dried and the sticks are ready, invite your child to touch, explore, and describe what they feel. Use questions to encourage language development—”Which one feels soft?” or “Can you find the bumpy stick?” This turns sensory play into a language-rich activity as well.
Ways to Use Tactile Sensory Sticks
There are many creative ways to incorporate sensory sticks into playtime or learning. Here are a few ideas:
- Sensory Exploration: Let your child hold and explore the sticks freely. Talk about how each one feels.
- Sorting Game: Ask your child to sort sticks by texture—rough vs. smooth, soft vs. hard.
- Matching Game: Make two identical sets and have your child find the matching textures by feel alone.
- Story Time Companion: Use sensory sticks while reading books about textures, nature, or the senses.
- Calming Tool: Keep a few sticks in a “calm down box” or sensory bin to help soothe and refocus a child who’s feeling overwhelmed.

Tips for Success
- Always supervise children when hot glue is in use.
- Avoid small materials with very young children who might put them in their mouths.
- Use a variety of textures for the most enriching sensory experience.
- Label the sticks with simple words or pictures for early literacy connections.
- Store them in a basket or sensory bin for easy access during playtime.
Encouraging Creativity
Don’t stop at the basic materials, encourage your child to get creative with their choices. Let them help choose materials, colors, or themes. You could make sticks inspired by seasons (fall leaves, snowflakes, spring flowers), emotions (happy = soft and colorful, angry = rough and spiky), or even characters from favorite books or shows.
This creative freedom makes children more engaged and excited about the process and gives them ownership of the activity. It also adds a fun craft component to sensory play, combining art and science in one hands-on project.

Tactile Sensory Sticks as a Learning Tool
In addition to sensory exploration, these sticks can help build other skills. Children can practice counting the items on a stick, compare the weight or texture of each one, and use descriptive language to express how they feel. You can even introduce early science concepts like observing, classifying, and predicting outcomes. For example, “What do you think will happen if we mix rice and glitter on this stick?”
Other material ideas:
● Dried beans
● Feathers
● Glitter
● Sprinkles
● Dried rice
● Seashells
● Aquarium stones
● Straws
● Felt

Tactile Sensory Sticks
Ingredients
- Large craft sticks
- Materials with different textures (dried pasta smooth stones, glitter discs, pipe cleaners, pom
- poms)
- Hot glue gun
Instructions
- Choose the textures and materials you would like to make the sensory sticks.
- Use hot glue to secure the materials onto the craft sticks.
- Let your child touch and explore the different textures.
More Sensory Ideas
For more ideas on ways to use what you have on hand to make sensory experiences for your kids, check these out:
- Learn How to Make a Catapult from Popsicle Sticks and some rubber bands.
- These Craft Stick Alien Flying Saucers are fun for kids to make and give them hours of fun.
- Make this Craft Stick Building Set for Preschool and let you kids explore all kinds of play with them.
Tactile sensory sticks are a simple yet powerful tool to support your child’s development. With just a few supplies and a little time, you can create a fun, educational, and sensory-rich experience right at home or in the classroom. Whether you’re looking to help your child regulate their emotions, explore new textures, or boost their fine motor and language skills, sensory sticks are a valuable addition to your sensory play toolkit.


Great sensory activity.
Thank you for checking it out!
These are so fun!
Thank you!