How to Make Mess-Free Sprinkle Sensory Bags for Kids
This page may contain affiliate links. Learn More.
If you’re looking for a mess-free activity that keeps kids engaged, sprinkle sensory bags are the perfect solution! Sensory play is not only fun for kids but also essential for their development. These squishy, colorful bags are easy to make, help with fine motor skills, and can be customized for different learning themes.
Why Squish Bags?
Squish bags offer several benefits for children. They allow kids to explore textures, colors, and movements without getting messy, which is a win for both kids and caregivers. These bags help to develop fine motor skills, sensory awareness, and language development as children describe what they’re feeling and seeing.
Materials Needed for Sensory Bags:
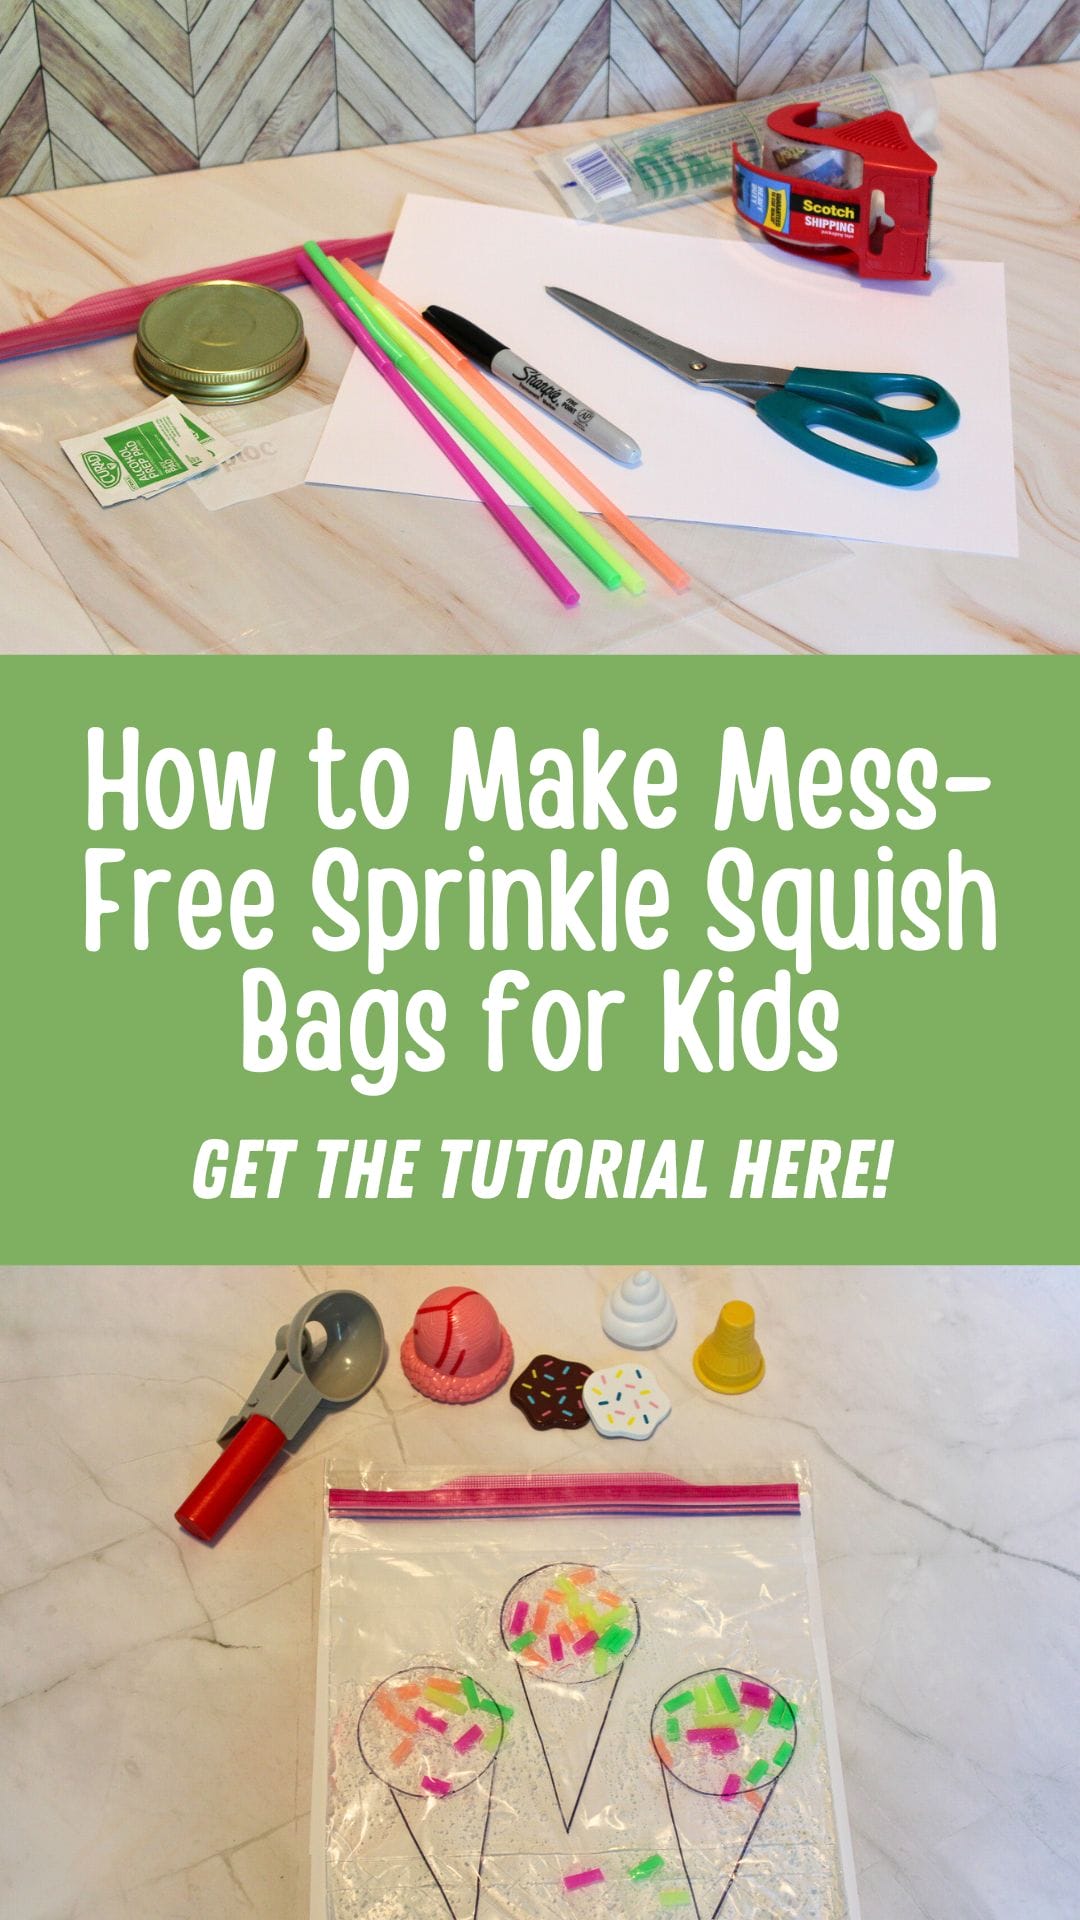
Here’s what you’ll need to create your sprinkle sensory bags:
- Heavy-duty gallon size ziplock bags (freezer bags work best to prevent leaks)
- Hair gel
- Multicolored Straws
- Packing tape
- Scissors
- A circle shaped item like a canning jar lid
- Black Sharpie
- Alcohol Swabs
- White Cardstock
Step-by-Step Instructions:
Step 1: Gather the Supplies

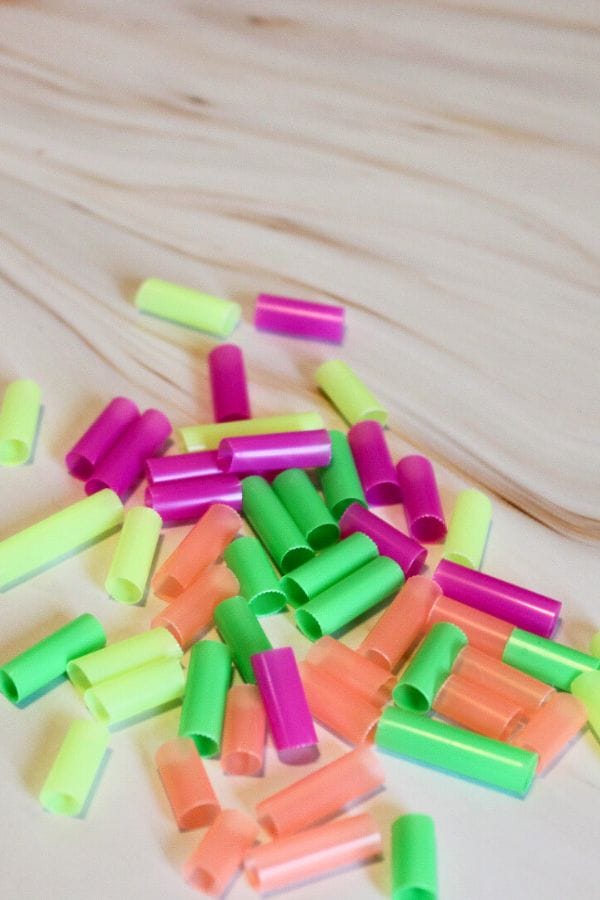
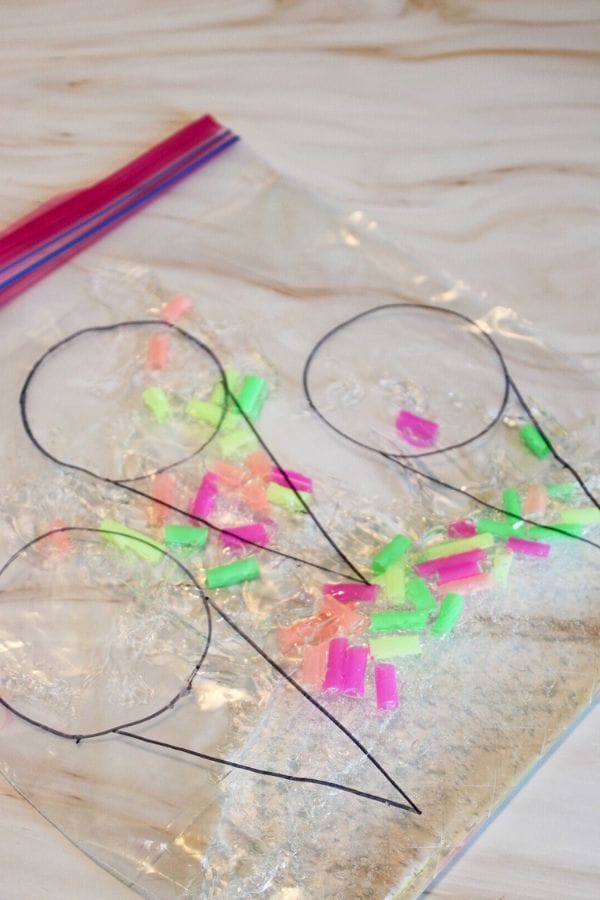
Step 2: Cut each color of straw into small pieces to create the “sprinkles”
Step 3: Take the alcohol swab and erase the product labeling or any writing.

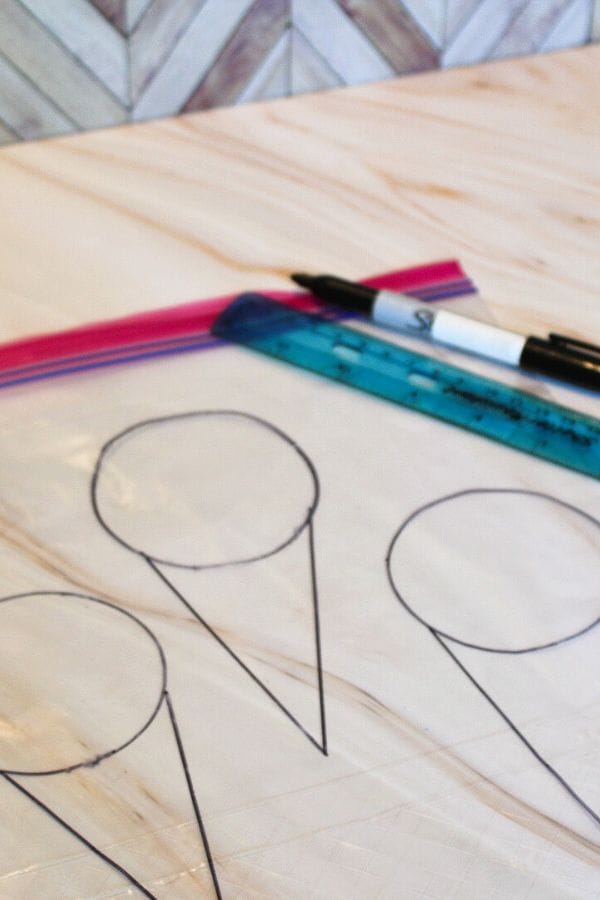
Step 4: With a sharpie trace 3 ice cream “scoops.” Make triangle “cones” either by hand or using
a ruler.
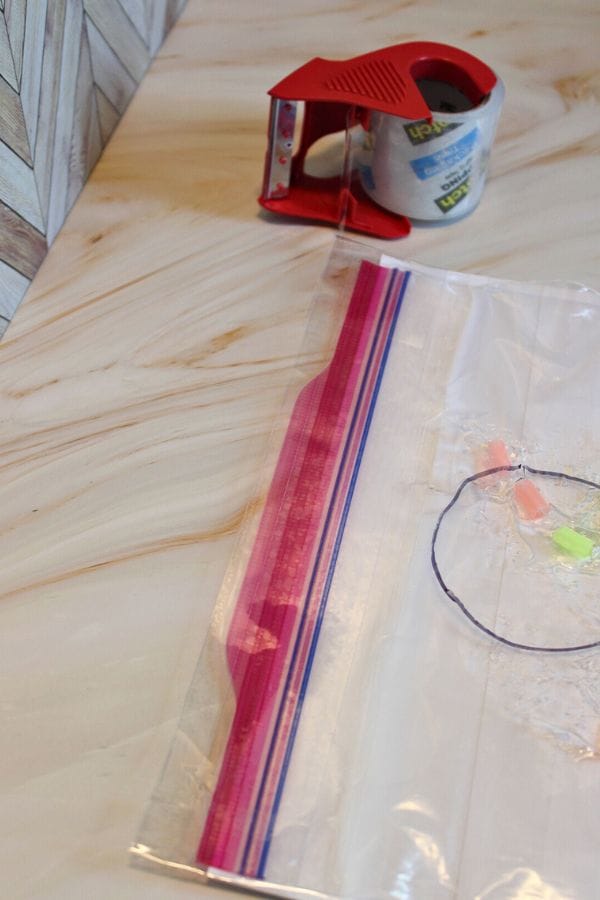
Step 5: Add 12-14 oz of hair gel to the ziplock baggie. Add straw “sprinkles.”
Step 6: Push all the air out of the plastic baggie. Seal the baggie and add a piece of cardstock to the back. Use packaging tape to seal the bag and secure the cardstock in place.
How to Use the Sprinkle Sensory Bags:
These sprinkle sensory bags can be used in various ways to promote different skills and learning:
- Color Recognition: Ask your child to identify or point to different colors of the sprinkles.
- Counting Game: Challenge kids to count specific colors of sprinkles they can see.
- Fine Motor Practice: Have your child use their fingers to move sprinkles into different corners of the bag.
- Shape Tracing: Draw simple shapes on the outside of the bag with a marker, and encourage kids to trace them by moving the sprinkles.

Clean-Up and Storage:
When the playtime is over, wipe down the outside of the bag with a damp cloth. Store the sensory bag in a cool, dry place, and it can be used again and again. If you notice the sprinkles starting to dissolve over time, it’s a good idea to make a fresh bag.
Squish Bag Variations to Try:
Here are a few fun variations to keep the sensory bags exciting:
- Transportation: Make a road scene and use erasers to move around in the pathways.
- Seasonal Themes: Use gel with holiday colors or seasonal sprinkles (like tiny pumpkins for fall).
- Alphabet Learning: Add small foam letters to the bag to help kids practice identifying letters.
- And even more fun is this super cool Glow in the Dark Sensory Bag Activity For Toddlers that stimulates even more senses with fun playing in the dark!
- Under-the-Sea Adventure: Use blue-tinted gel, add fish-shaped sprinkles or plastic fish, and pretend you’re exploring the ocean!
- Nature Theme: Swap out sprinkles for small leaves, petals, or even tiny pebbles for a nature-inspired bag.
Sprinkle sensory bags are an easy, mess-free, and fun activity that engages kids in playful learning. Not only are they simple to make, but they can also be adapted for different themes and skill levels. Best of all, they’re a fantastic way for children to explore their senses and develop essential fine motor skills in a clean and creative way.

Mess-Free Sprinkle Squish Bags
Ingredients
- Hair gel
- Multicolored straws
- Scissors
- Canning top or anything that is circle in shape and can be traced
- Black Sharpie
- Zip-lock gallon-size baggie
- Packaging tape
- Alcohol swabs or alcohol and cotton balls
- White cardstock
Instructions
- Gather all the supplies.
- Cut each color of straw into small pieces to create “sprinkles.”
- Take the alcohol swab and erase the product labeling or any writing.
- With a sharpie trace 3 ice cream “scoops.” Make triangle “cones” either by hand or using a ruler.
- Add 12-14 oz of hair gel to the ziplock baggie. Add straw “sprinkles.”
- Push all the air out of the plastic baggie. Seal the baggie and add a piece of cardstock to the back.
- Use packaging tape to seal the bag and secure the cardstock in place.
So gather your supplies, let your creativity flow, and get ready to see the smiles on those little faces!
Try these sensory bottle ideas too: