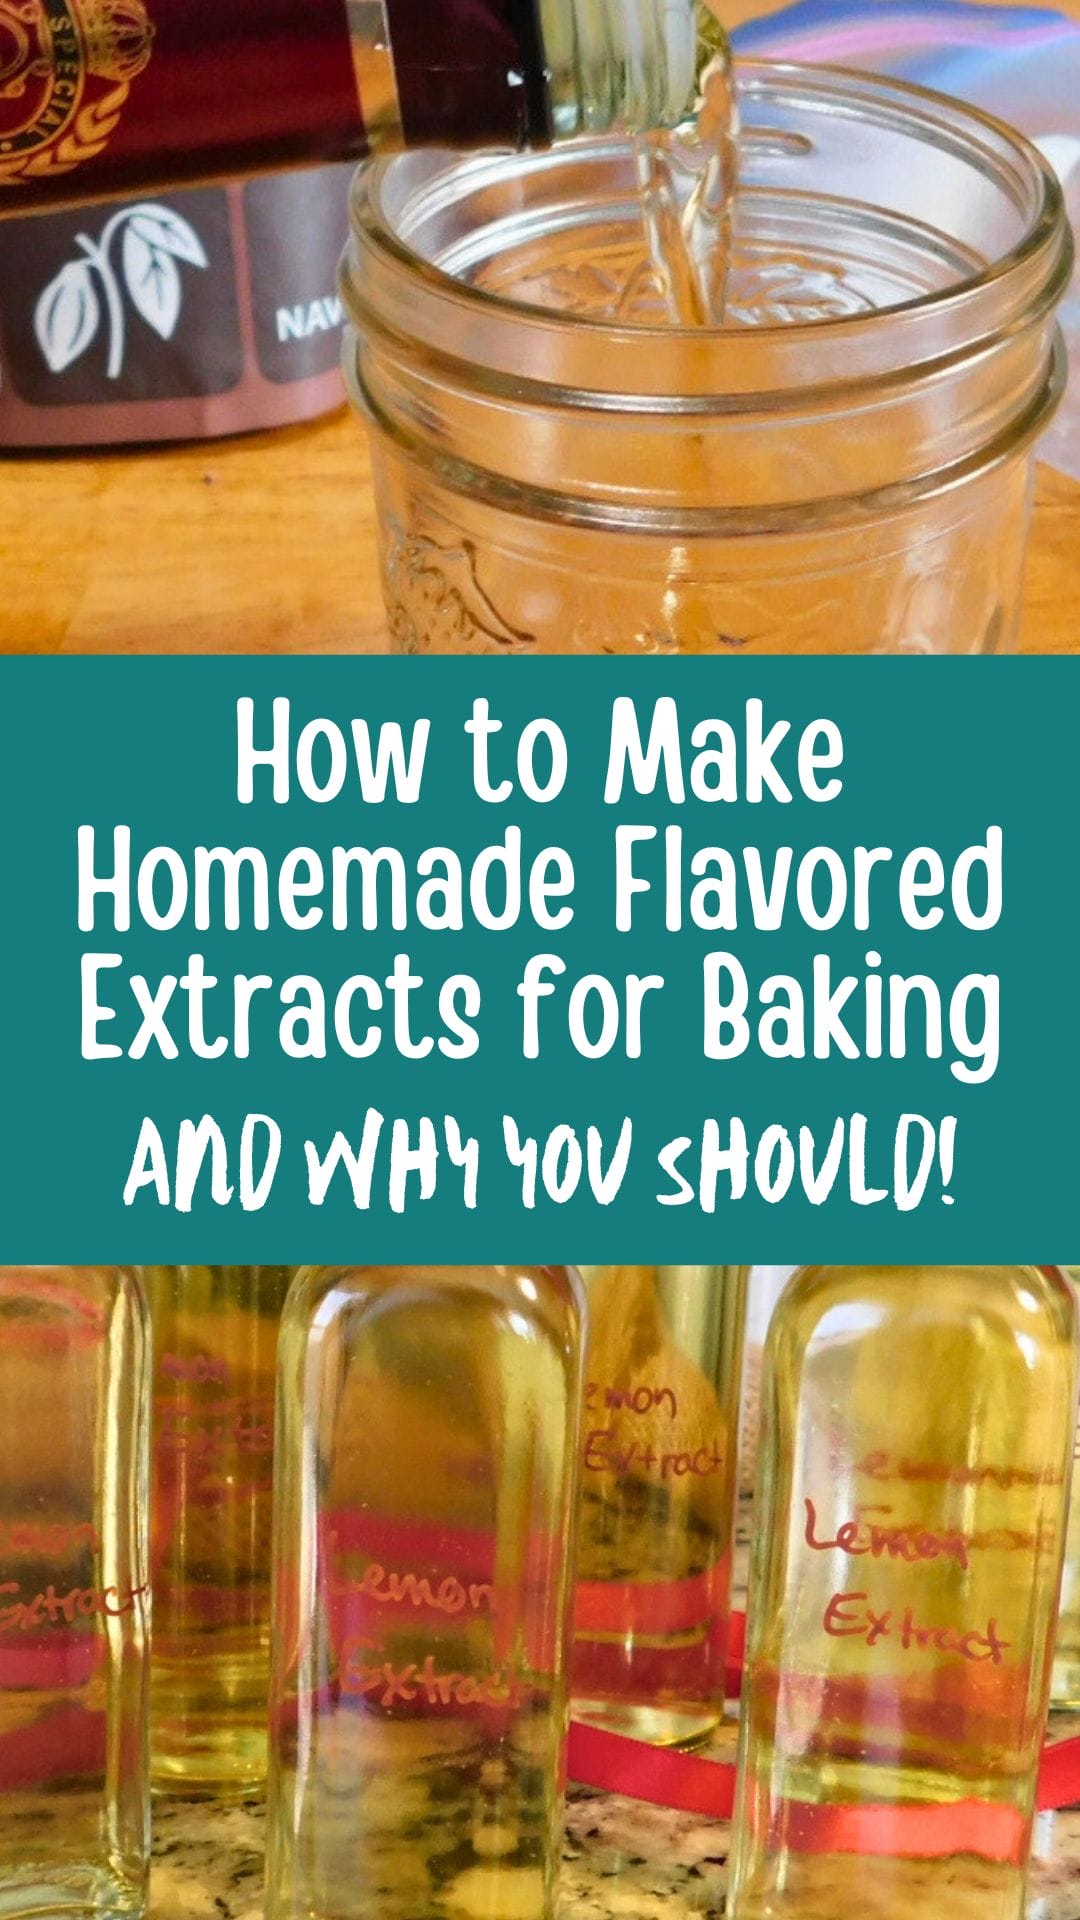
How to Make Homemade Flavored Extracts for Baking
This page may contain affiliate links. Learn More.
Homemade seasonings and extracts are a wonderful way to add a personal touch to your baking. Learn how to make homemade flavored extracts for baking today!
Not only are homemade flavored extracts easy to make, but they also allow you to create unique flavors tailored to your taste. By using simple ingredients like fresh fruits, herbs, and spices, you can craft extracts that are more vibrant and natural than store-bought versions.
Whether you’re looking to enhance your cakes, cookies, or other baked goods, homemade flavored extracts can elevate your recipes to the next level. Plus, they make fantastic gifts for fellow baking enthusiasts! Let’s dive into the basics of creating your own delicious flavored extracts.
Benefits of Homemade Flavored Extracts
Homemade flavored extracts offer numerous benefits, making them a popular choice for culinary enthusiasts. Here are some key advantages:
- Tailored Flavors: You can create unique combinations that suit your taste, such as vanilla-mint or lemon-rosemary, which are not typically available in stores.
- Ingredient Control: You have complete control over the ingredients, ensuring high quality and organic options if desired.
- Economical: Making your extracts at home is often cheaper in the long run compared to buying commercial extracts, especially if you use a lot of them in baking and cooking.
- Purity: Homemade extracts are free from artificial additives, preservatives, and colorings that are often found in commercial products.
- Environmental Impact: Homemade extracts can reduce packaging waste and the environmental impact associated with the production and transportation of commercial products.
- Personalized Gifts: Homemade extracts make thoughtful and personalized gifts for friends and family, showcasing your effort and creativity.
- Learning Experience: The process of making extracts can be educational, teaching about the properties of different ingredients and the chemistry involved in flavor extraction.
DIY Extracts
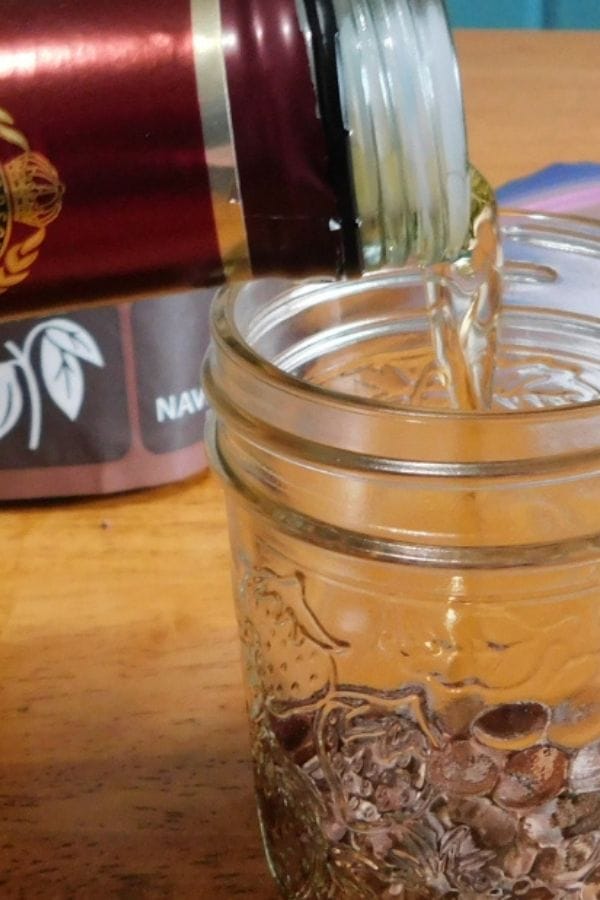
You can make your own vanilla extract with just a few ingredients, or venture out with a mason jar and some lemon peels or mint leaves and make different flavors of extracts for your baking. You can also make other extract-type products such as vanilla sugar that can be used in drinks or baking.
You just need some glass containers, a few ounces of alcohol, and some time to let it set at room temperature away from direct sunlight. Just a small amount of pure extract is going to make your cookie dough and other baked goods amazing and you won’t ever want to go back! It’s great for baking during the holiday season and for gift-giving as well. So get prepared to have some happy holidays with these new recipes.

Common Ingredients for DIY Extracts:
- Vanilla Beans
- Citrus Peels (lemon, orange, lime)
- Nuts (almonds, hazelnuts)
- Herbs (mint, rosemary, thyme, basil)
- Spices (cinnamon sticks, cloves, star anise)
- Berries (raspberries, strawberries)
- Coffee Beans
- Cocoa Nibs
Types of Alcohol to Use:
- Vodka: The most common alcohol for extracts due to its neutral flavor, allowing the extract’s main ingredient to shine.
- Rum: Adds a deeper, sweeter flavor, great for vanilla and spices.
- Bourbon: Adds a rich, caramel-like flavor, perfect for vanilla and nut extracts.
- Brandy: Offers a unique, fruity undertone, suitable for berry and nut extracts.
Required Equipment:
- Glass Jars or Bottles: Mason jars or any glass jar with a tight seal. Small bottles with droppers are useful for storing finished extracts.
- Labels: To identify and date your extracts.
- Knife: For slicing ingredients like vanilla beans and citrus peels.
- Cutting Board: A clean surface for preparing your ingredients.
- Measuring Cups: To ensure the correct ratio of ingredients to alcohol.
- Funnel: For transferring liquid into bottles without spilling.
Basic Steps for Making Homemade Extracts
- Prepare Ingredients
- Combine Ingredients and alcohol
- Seal the jar tightly and shake it gently
- Store in a cool, dark place, shaking occasionally to help with the extraction process
- Wait and Strain
- Label and Use
Homemade Extract Flavor Variations and Recipes
- How to Make Vanilla Extract
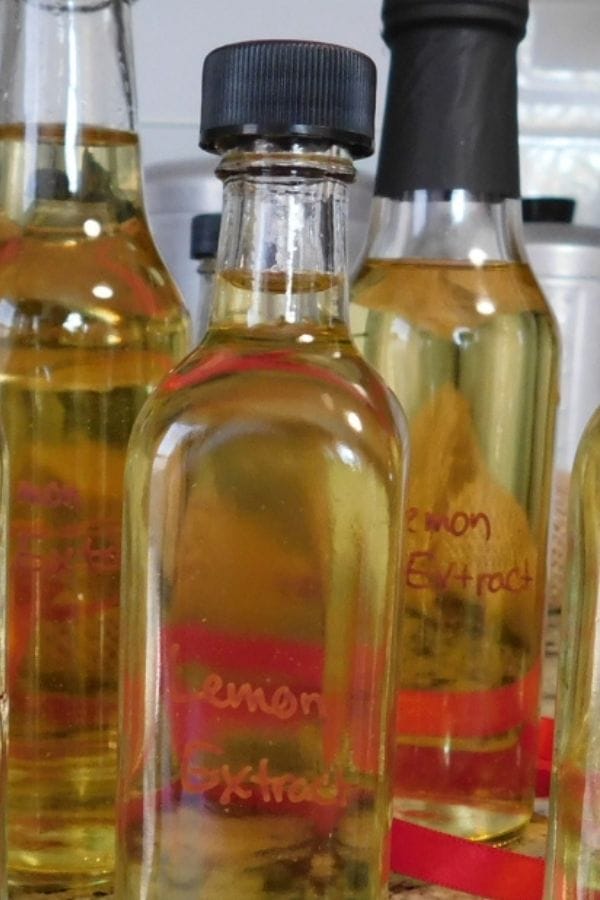
- How to Make Lemon Extract
- Homemade Chocolate Extract
- How to Make Almond Extract
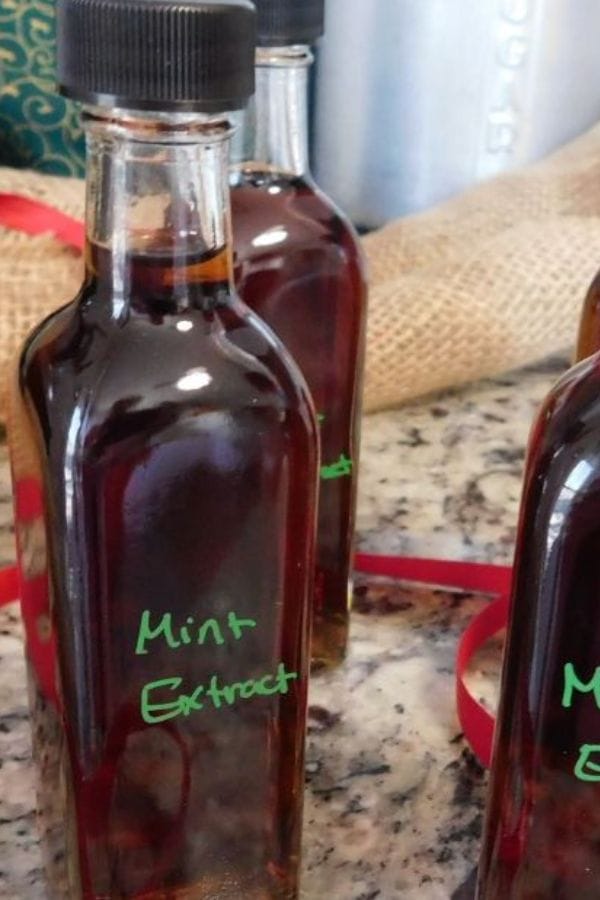
- How to Make Peppermint Extract
- Homemade Lavender extract
- Cinnamon Extract
- Coffee Extract
- How to Make Coconut Extract
- How to Make Homemade Raspberry Extract
Tips for Success
- Selecting high-quality ingredients
- Make sure to store your extracts properly in a cool dark place
- Follow the recommended extraction time
- Shake the jars regularly to mix flavors
Packaging and Gifting Ideas for Homemade Extracts
Packaging and gifting homemade extracts can be a delightful and creative process. Here are some ideas to make your homemade extracts look appealing and gift-worthy:
Packaging Ideas for Homemade Flavored Extracts
- Glass Bottles: Use small glass bottles with cork stoppers or screw caps. Amber or cobalt blue bottles protect the extracts from light, preserving their quality. Consider unique shapes or vintage-style bottles to add charm.
- Labels: Create custom labels that include the type of extract, date of production, and usage instructions. Use waterproof labels to ensure they stay intact.
- Sealing: Seal the bottles with wax for an old-fashioned look. This adds a decorative touch and keeps the extract fresh. Alternatively, use shrink bands for a professional look.
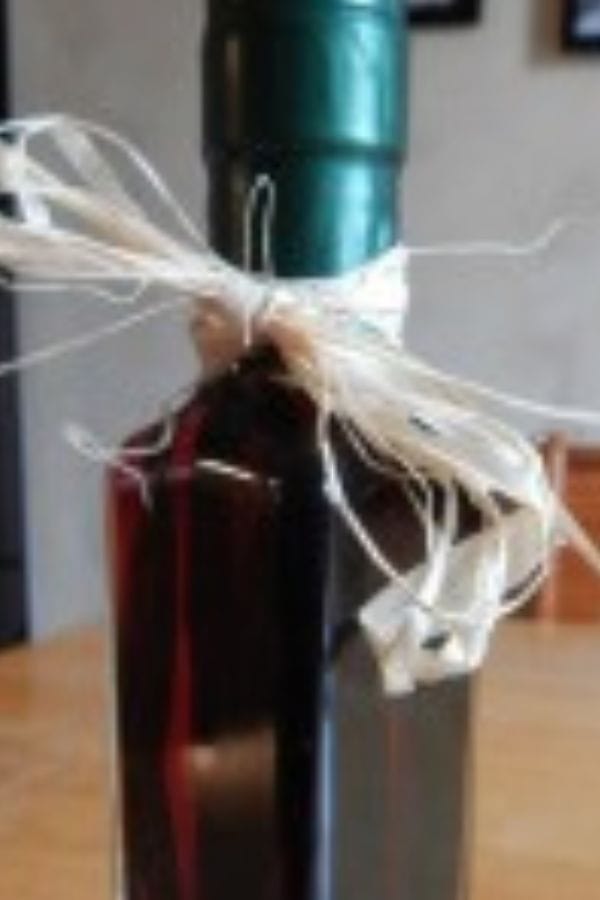
- Decorative Touches: Tie a ribbon, twine, or raffia around the neck of the bottle. Attach a small charm or a dried herb sprig that corresponds with the extract (e.g., a vanilla bean for vanilla extract).
And there are so many beautiful ways to package homemade gifts to make them even more special.