How to Grow Long Handled Dipper Gourds
This page may contain affiliate links. Learn More.
Learning how to grow long handled dipper gourds is fun for kids and adults alike. Growing gourds is a fascinating and functional addition to any preschool garden.
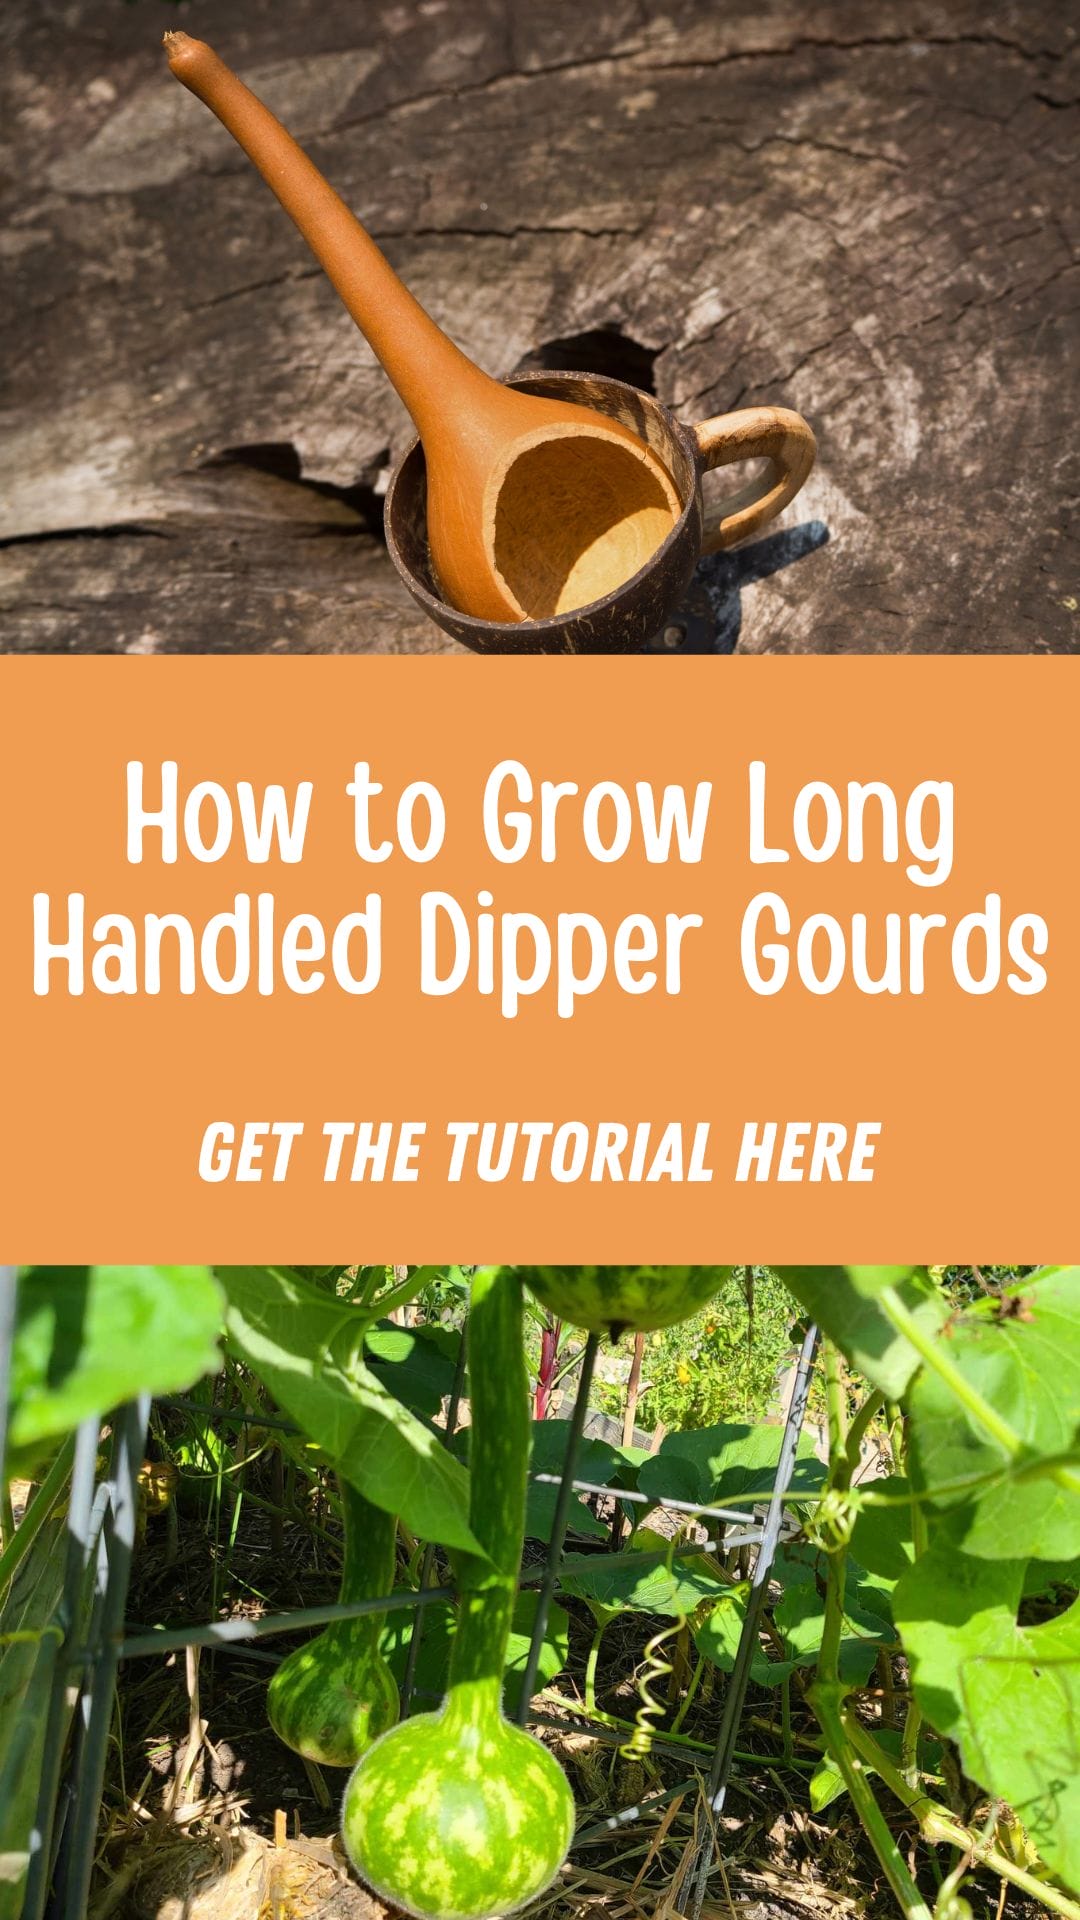
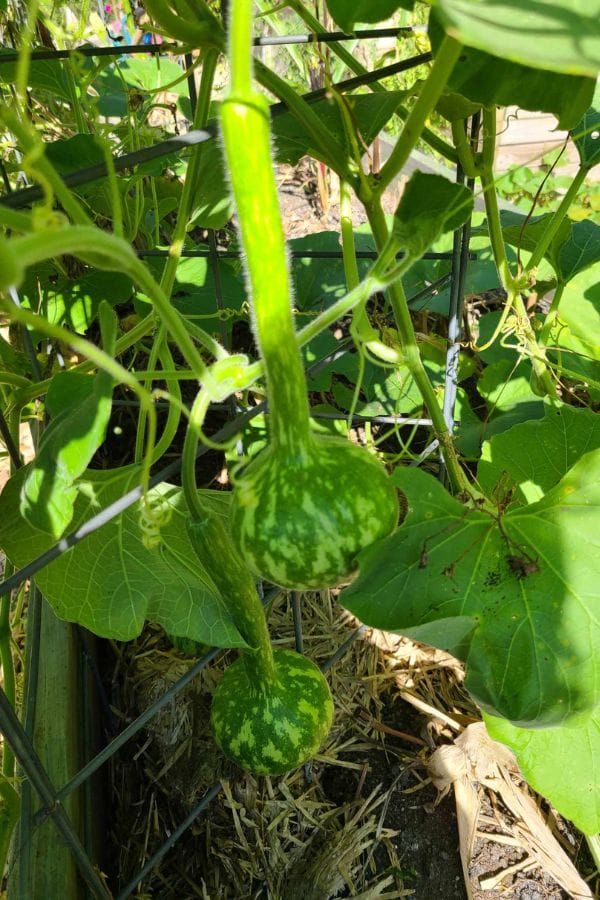
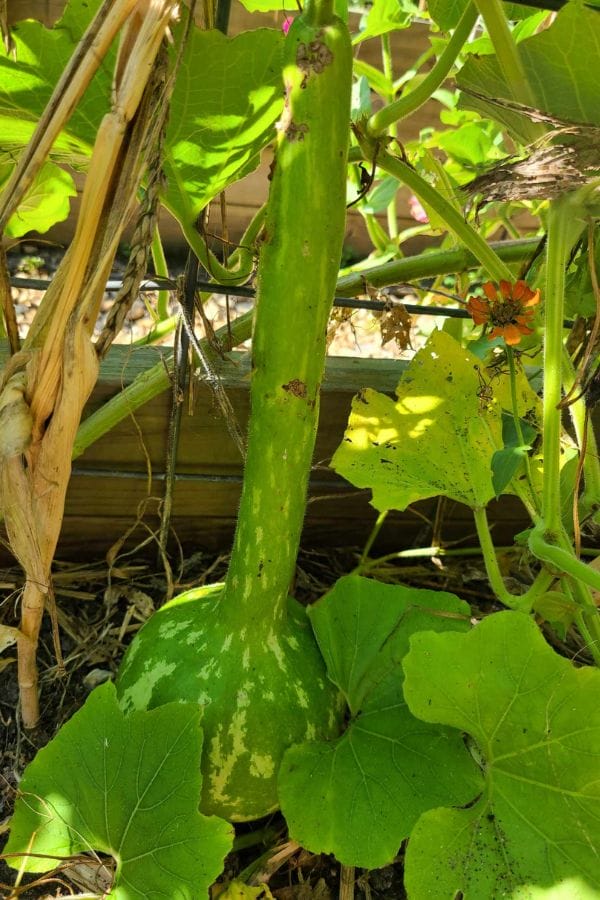
These unique gourds, known for their elongated handles and bulbous ends, are often used for decorative purposes or crafted into practical tools like dippers and birdhouses. Growing them is rewarding and straightforward, provided you follow some basic guidelines. Here’s everything you need to know to cultivate your own long-handled dipper gourds.
For more ideas on growing gourds in your home garden, check these out:
- How to Grow Luffas
- How to Grow Chinese Python Snake Beans
- How to Grow Birdhouse Gourds!
- How to Grow Bushel Gourds
- How to Grow Giant African Drum Gourds in the Garden
Choose the Right Location
Gourds thrive in warm, sunny locations with plenty of space to spread out. Select a garden spot that receives at least 6-8 hours of direct sunlight daily. Ensure the soil is well-draining and rich in organic matter.
If your soil is heavy or clay-like, consider amending it with compost or well-rotted manure to improve drainage and fertility. You’ll need a long growing season, so if you live too far north, you may not be able to grow gourds without some way to extend the season such as a greenhouse.
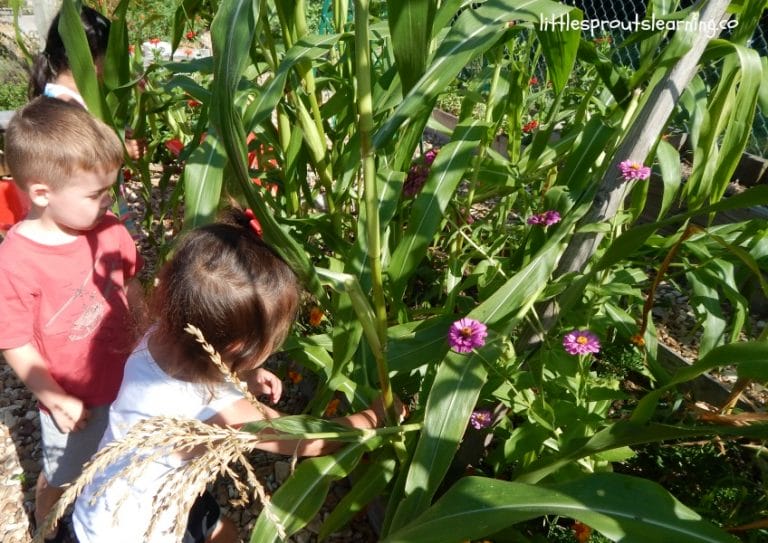
My daycare kids had tons of fun growing these gourds in our preschool garden. We did a study on some cultures and one of them was the Cherokee tribe. We grew the dipper gourds in the Cherokee garden.
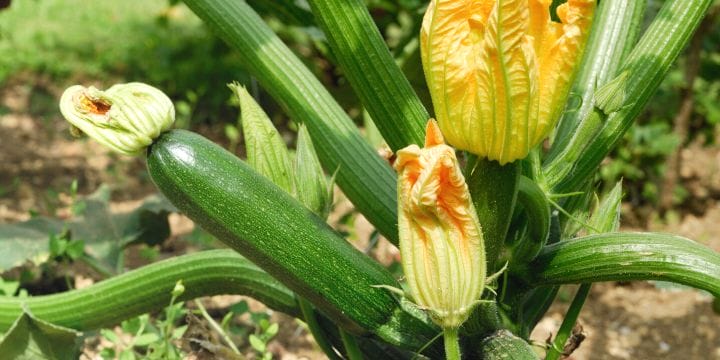
Growing ornamental gourds in the garden with kids gives them an idea that there are other things you can grow besides food. There are many useful things you can grow and use as well.

Planting Long Handled Dipper Gourd Seeds
- Timing: Plant gourd seeds after the last frost date in your area when the soil has warmed to at least 70°F (21°C). These warm-weather plants do not tolerate frost.
- Preparation: Soak the seeds in warm water for 24 hours before planting to soften the hard seed coat and encourage germination.
- Spacing: Sow seeds directly into the soil about 1 inch deep and 4-5 feet apart in rows or hills. You can also start seeds indoors 4 weeks before the last frost and transplant them carefully to avoid root disturbance.
Support Gourd Growth with a Trellis
Long-handled dipper gourds are vigorous climbers and benefit from sturdy support. A strong trellis, fence, or arbor allows the plants to grow vertically, saving space and encouraging straighter handles. Be sure to secure the growing vines as they climb to prevent them from toppling over.
Water and Fertilize Properly
- Watering: Keep the soil consistently moist but not waterlogged. Water deeply at the base of the plant to promote strong root growth and avoid wetting the leaves to reduce the risk of disease.
- Fertilizing: Feed the plants with a balanced fertilizer (10-10-10) every 2-3 weeks. As the gourds begin to develop, switch to a fertilizer higher in potassium to support healthy fruit growth.
Monitor for Pests and Diseases
Common pests like squash bugs and cucumber beetles can affect gourd plants. Inspect your plants regularly and remove pests by hand or use organic pest control methods like neem oil or insecticidal soap. Ensure good air circulation and avoid overhead watering to prevent fungal diseases such as powdery mildew.
Harvesting Your Gourds
Long-handled dipper gourds take 100-120 days to mature. Wait until the vines start to die back and the gourds’ skins harden before harvesting. The handles should feel firm, and the surface should no longer dent easily when pressed.
- Harvesting Tips: Use sharp pruning shears to cut the gourds from the vine, leaving a few inches of stem attached to prevent rot.
- Curing: Place the harvested gourds in a warm, dry, and well-ventilated area to cure. Turn them occasionally to ensure even drying. Curing can take several weeks to months, depending on the size and humidity levels. We leave our gourds on the gravel in the garden to cure over the winter.
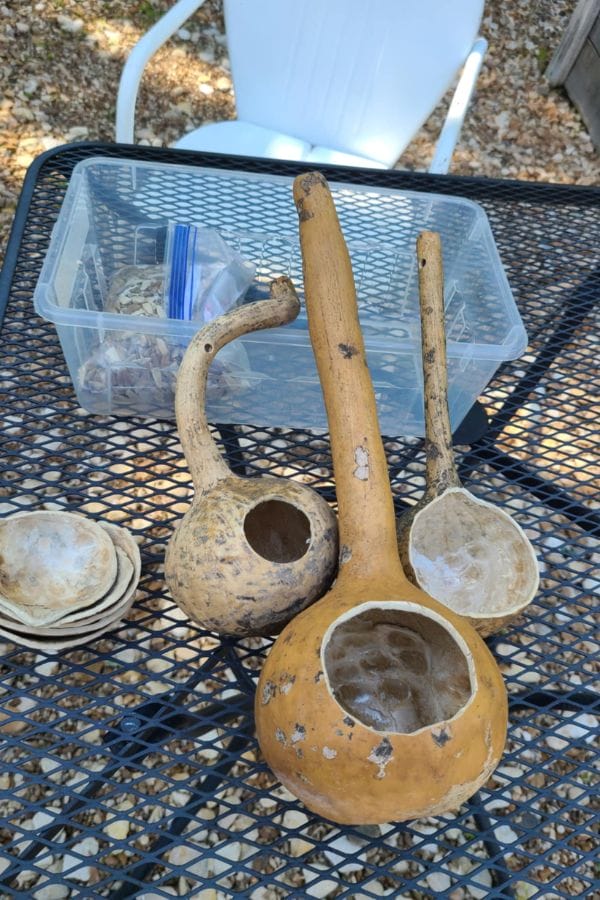
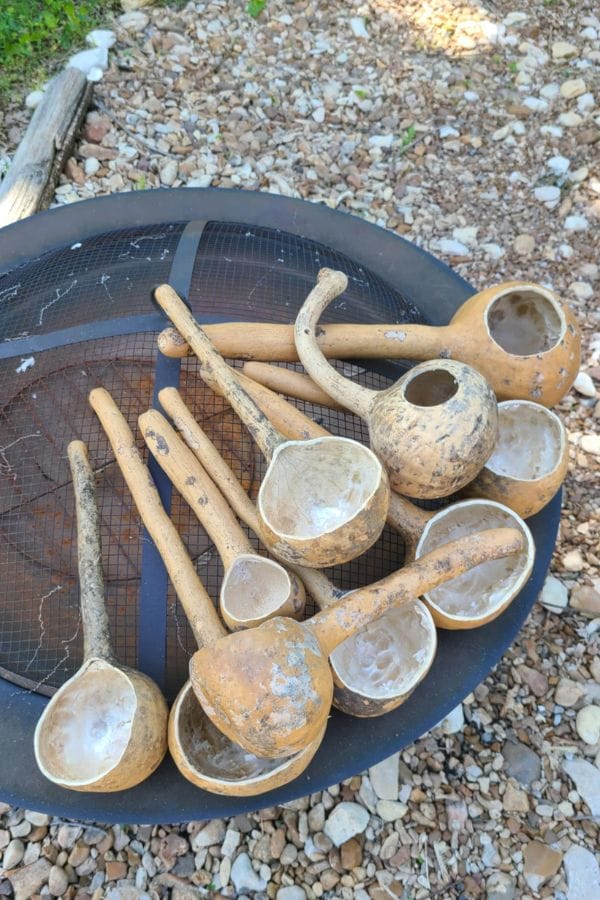
Creative Uses for Long Handled Dipper Gourds
Once dried, these gourds can be transformed into:
- Dippers: Traditionally used as scoops for water or grains.
- Decorations: Painted or carved into beautiful art pieces.
- Birdhouses: Hollowed-out gourds make excellent shelters for birds like purple martins.
- Tools: Crafted into unique gardening or household tools.
Just cut them with a drill bit, a Dremel, or a box cutter like we did.


Tips for Success
- Rotate Crops: Avoid planting gourds in the same spot year after year to reduce the risk of soil-borne diseases and pests.
- Prune the Vines: Trim excess foliage to redirect the plant’s energy toward fruit production.
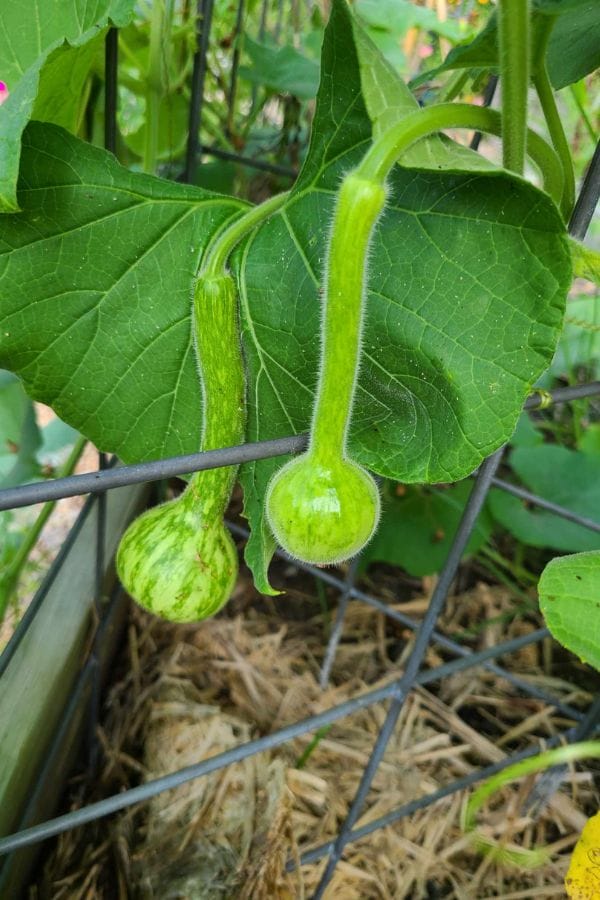
- Straighten Handles: To achieve straighter handles, guide the young fruit gently as they grow, ensuring they’re supported by the trellis.
Growing long-handled dipper gourds is an enjoyable and rewarding experience. With a little care and patience, you can harvest these unique plants and enjoy their many uses. Whether you’re crafting functional tools or adding a decorative touch to your home, long-handled dipper gourds are a fantastic addition to your garden. Start planting today and embrace the creative possibilities of these remarkable gourds!